One of the multiple ways to preserve flowers now coming into bloom, and enjoy them all year, is pressing and drying.
Pressed plants can be used in a variety of DIY home décor projects. Use dried flowers to create wall art, embed them in resin for jewelry, decorate homemade candles with them, or make an herbarium. Use your creativity and keep your eye on this feature for more DIYs with pressed flowers.
A time-honored way is to press flowers and leaves in the pages of a heavy book — to be removed when dry, or, more romantically, left to be discovered by a future reader.
Another classic and easy method is via a flower press. If you want to preserve more than one or two specimens, consider making your own press.

For this quick and easy DIY, you will need:
- 3/4-inch wood
- Four-inch screws, with fitting washers and wing nuts
- Drill and bit larger than your screws
- Saw
- Cardboard
- Scissors
First, determine how large a flower press you want. Consider the type of plants you might want to press — things like ferns and other large leaves can take up quite a bit of space. The press shown in these photos is six and a half inches by 14 inches.
You will need two pieces of wood of your chosen size. You can use any wood for this — it will be kept inside, so softer woods are fine. Light wood makes the flower press more portable, which can be a perk if your storage space and workspace are not the same. Light wood is also ideal if you want to make a small press, which you can take with you to press flowers while you walk or hike.
Using a drill bit that is slightly larger than your screws, make a hole in each corner of one board, one to one and a half inches in from either edge.
Clamp or hold the second board underneath the one with the holes, and drill through the first holes into the lower board. This ensures the holes will be aligned.
You can paint the boards, decorate them however you like or leave them as is.
Next, cut pieces of cardboard slightly smaller than the wooden top and bottom of the press. You can punch holes through the cardboard so you can thread them onto the screws as well, cut the corners off the cardboard to avoid the screws or just make the sheets fit in between the screws.
You can use just a few sheets of cardboard, or fill your press up — you just need enough space at the top of the screws for the top board and to tighten the wing nuts.

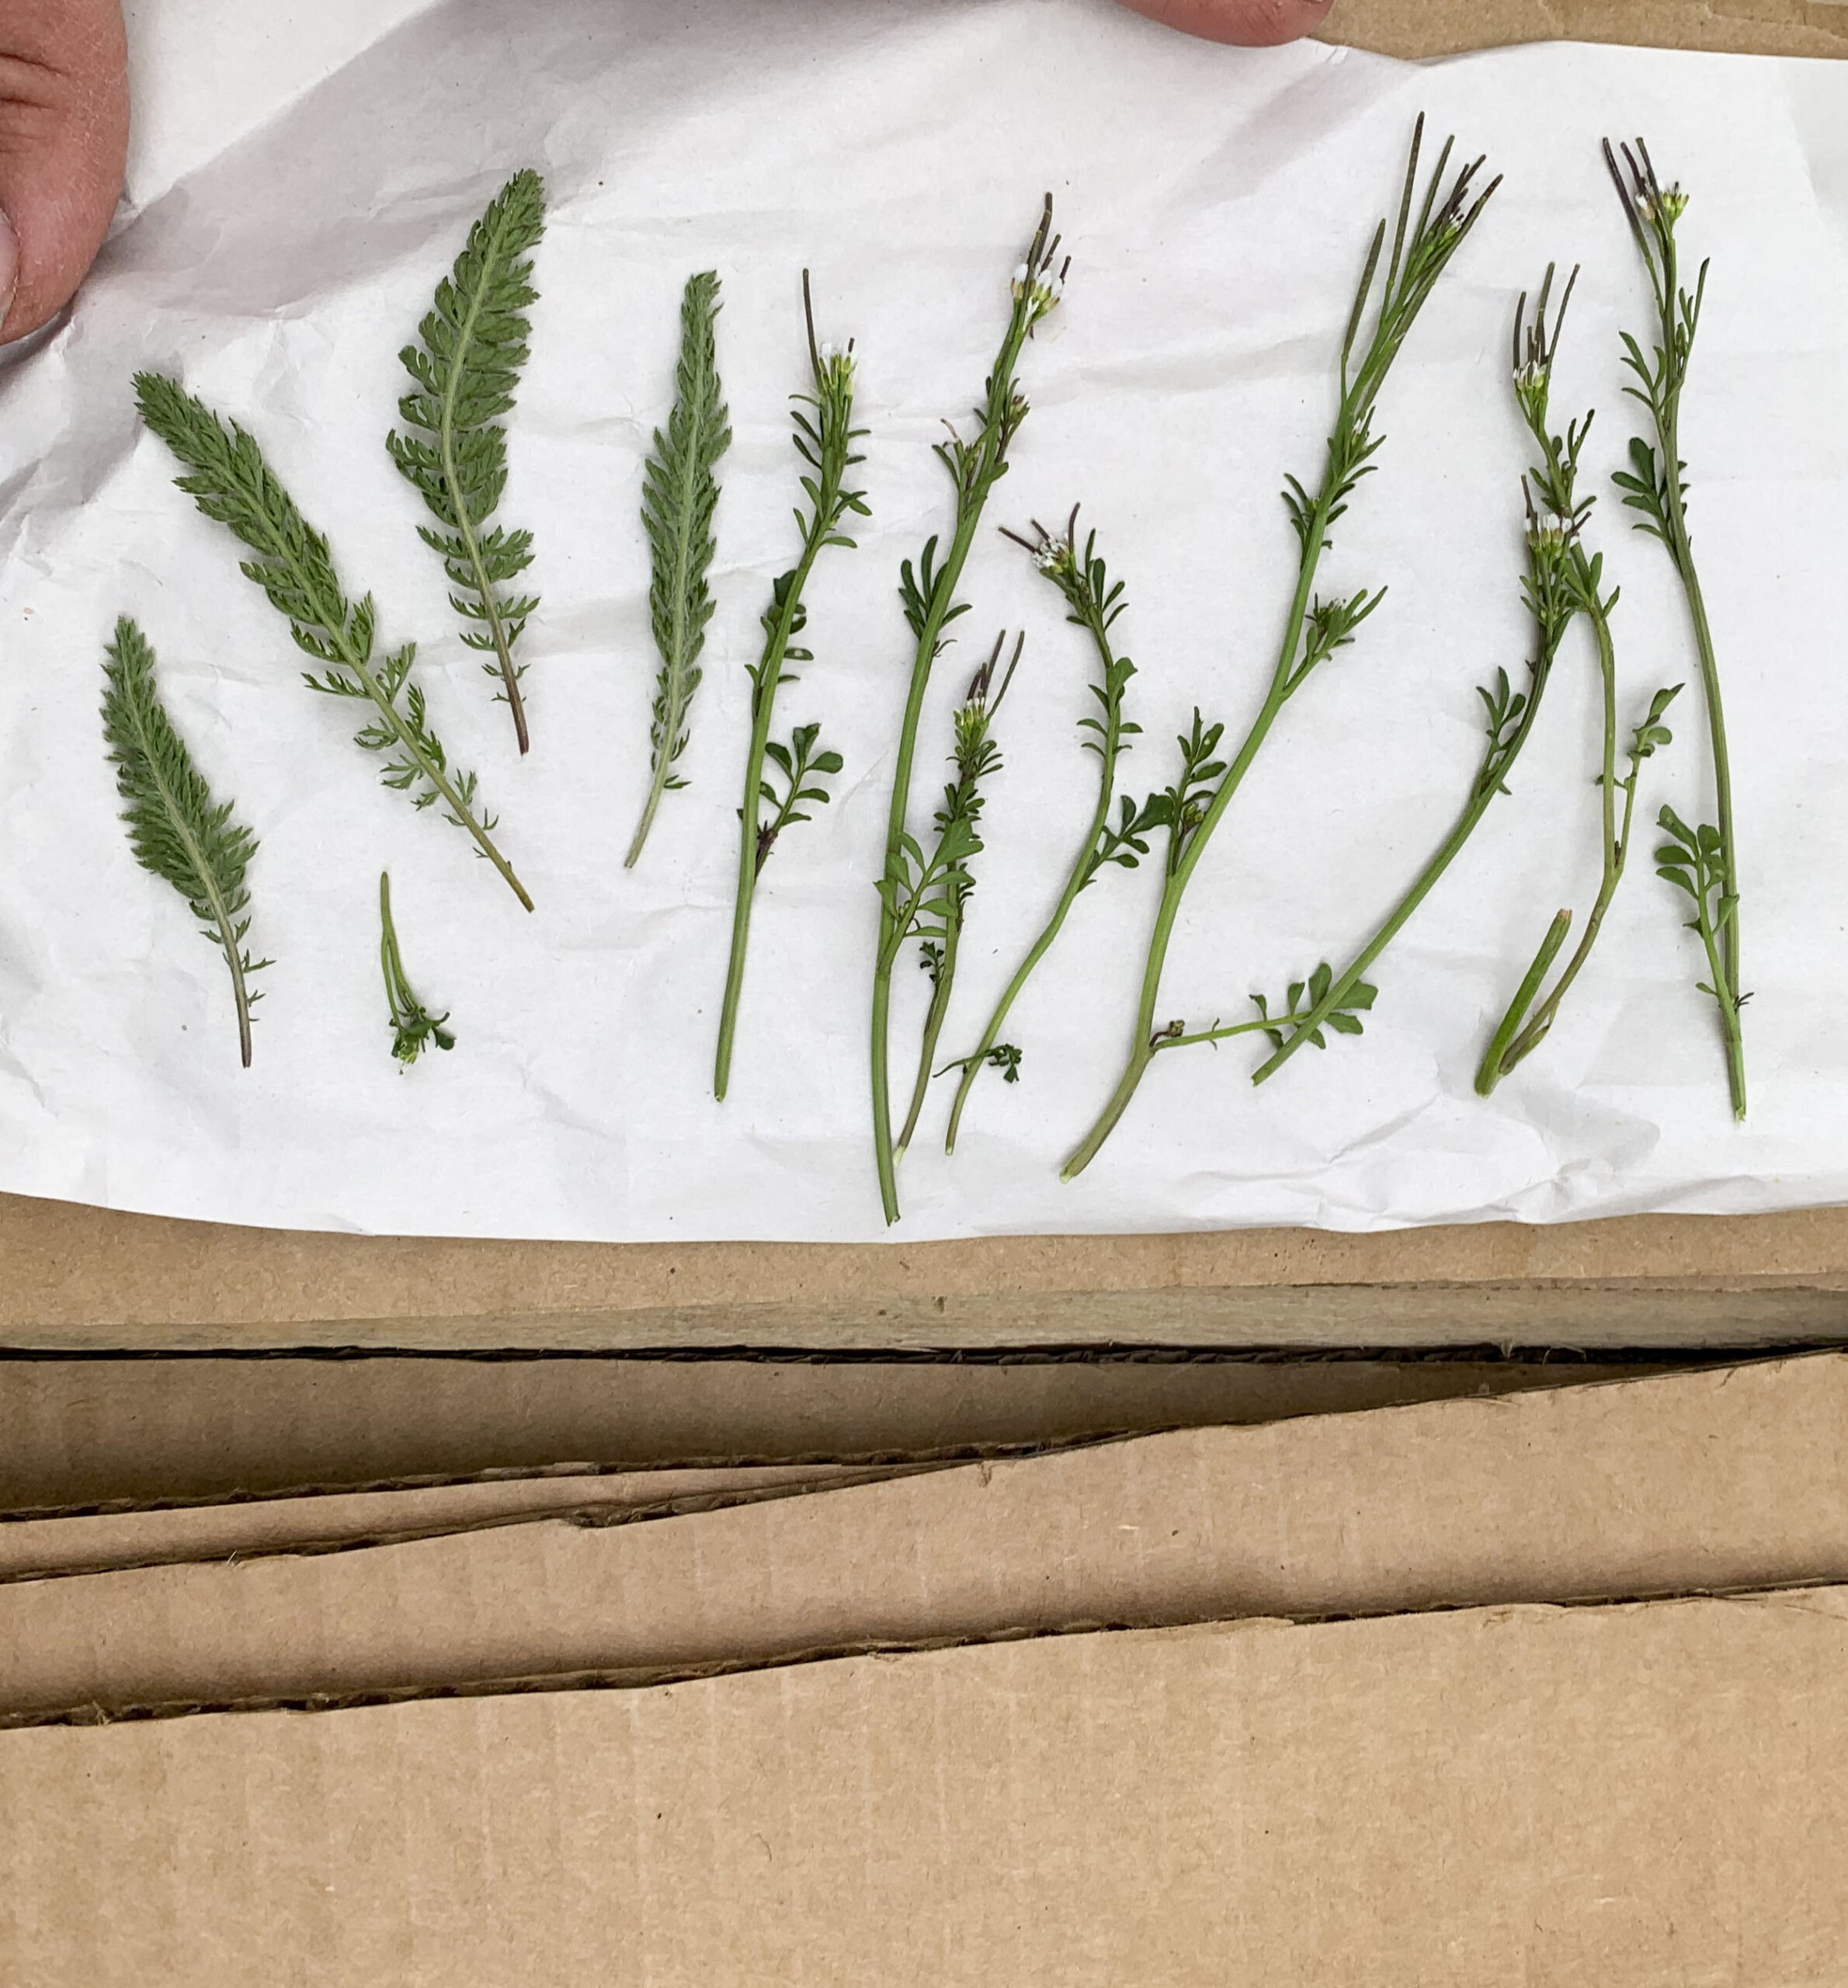
Carefully arrange flowers and leaves between the sheets of cardboard — add a layer of paper or tissue above and below the flowers to keep the cardboard from staining.
Assemble the press with your choice of foliage and blossoms inside, tighten the wing nuts over the washers on the screws, and allow to sit for several weeks, until dry.
TWEET @DominionPostWV

