
This winter turn socks into fun toys
By Aldona Bird
Newsroom@DominionPost.com
With children home for winter break, this is a good time to craft together. Younger children may enjoy turning a pair of socks into a beloved toy.
You can turn socks into a variety of fun toys. Sock monkeys are a classic, and fun and easy to make at home.
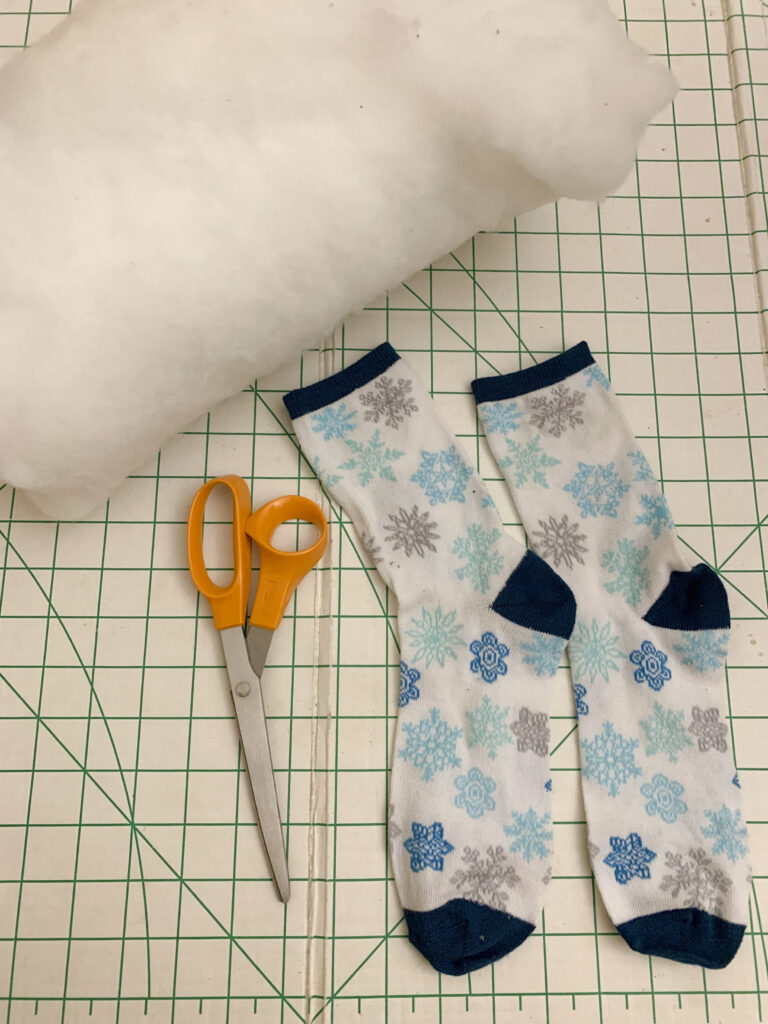
To make a sock monkey, you will need:
- A pair of socks (crew cut or longer)
- White felt or other white fabric
- Stuffing fluff
- Scissors
- Needle and thread or sewing machine
- Buttons
- Other accessories (optional)
First choose your socks. It works well to use a matching pair, as one sock will be the body and legs, and the other will be the arms, ears, tail and nose.
The longer your sock, the longer the legs, arms and tail of your monkey. Use knee socks for a super long monkey whose legs can tie around your own arm or let. Shorter socks (not shorter than crew cut) make cute smaller monkeys.
Prepare to cut the first sock — the heel will be the monkey’s bum, and the toe will be its head. Lay the sock flat, with the heel on top. Create the legs by cutting down the middle of the ankle from the top to just below the heel. You can cut both sides of the sock at once. Cut off the corners of the ends to round off the feet.
Lay the other sock flat, as you would to fold a pair of socks. Cut the arms by cutting the ankle in half as you did for the legs, and then cut them off at the top to detach from the rest of the sock. Cut the tail out along the top of the sock from the toe to where you detached the arms.
Alternatively, if you want a longer tail cut it before you cut the arms from the toe all the way to the ankle. Cut the arms out of the remaining ankle material.
Cut the heel out — this will be the snout, and then cut two (through both layers) half circles out of the remaining section of sock for the ears.
Sew all your pieces up right sides together, leaving openings through which to add the stuffing. Turn the pieces right side out, and fill with stuffing. For narrow pieces like the tail, arms and legs, add a small amount of stuffing and then push it in with the end of a pencil or pen.
Once all the pieces are full, hand stitch them together. You can tuck the edges under, and make small hidden stitches, or you can let the cut edges show and use a whip stitch to attach them.
When sewing on the arms take care to make them symmetrical. Sew the ears onto the top sides of the head by pinching the flat edge of the sewn together semi-circles stuffed with filling, and attaching them with the two folded edges facing forward.
Sew half the snout on before filling it with fluff, and then the other half after filling. The top edge of the snout should be a couple inches from the top of the head. Sew the tail on to the bum.
Use buttons as eyes. You can sew on white felt cut larger than the buttons if you want some extra drama in your monkey’s face.
You can add other accessories, such as a tie, necklace or buttons down the front. This toy takes only a few materials to make, and has lots of play value for children who love stuffed animals and imagination games.
TWEET @DominionPostWV
