This easy DIY reuses leftover paper and makes the season a little more eco-friendly
BY ALDONA BIRD
Newsroom@DominionPost.com
With a little extra time to spend at home instead of at holiday parties, this is the year to reduce some wrapping paper waste while at the same time doing a fun and easy craft.
Using any paper you have on hand, along with a little paint or stamps and ink, you can quickly make cute custom gift bags and your own gift tags to match.

To make gift bags you will need:
- Paper (newspaper, leftover gift wrap, paper grocery bags, etc.)
- Scissors
- Glue (glue sticks are ideal for this)
- Paint, ribbon or other decoration material
Cut a rectangle from your paper — the length will be the circumference of your bag and the width will be a little more than the height.
Start by folding one of the long edges down about an inch to the inside side of your paper. This will give the top of your bag a nice clean edge. Mark the inside center of your paper bag by lightly creasing one spot, or with a pencil mark.
Fold sides in, overlapping the center mark by about half an inch. Apply glue to top edge of the first side you fold in, and press second side firmly on top to glue. Be sure to only glue edges together — if they stick to the other side of the paper your bag will be glued shut.
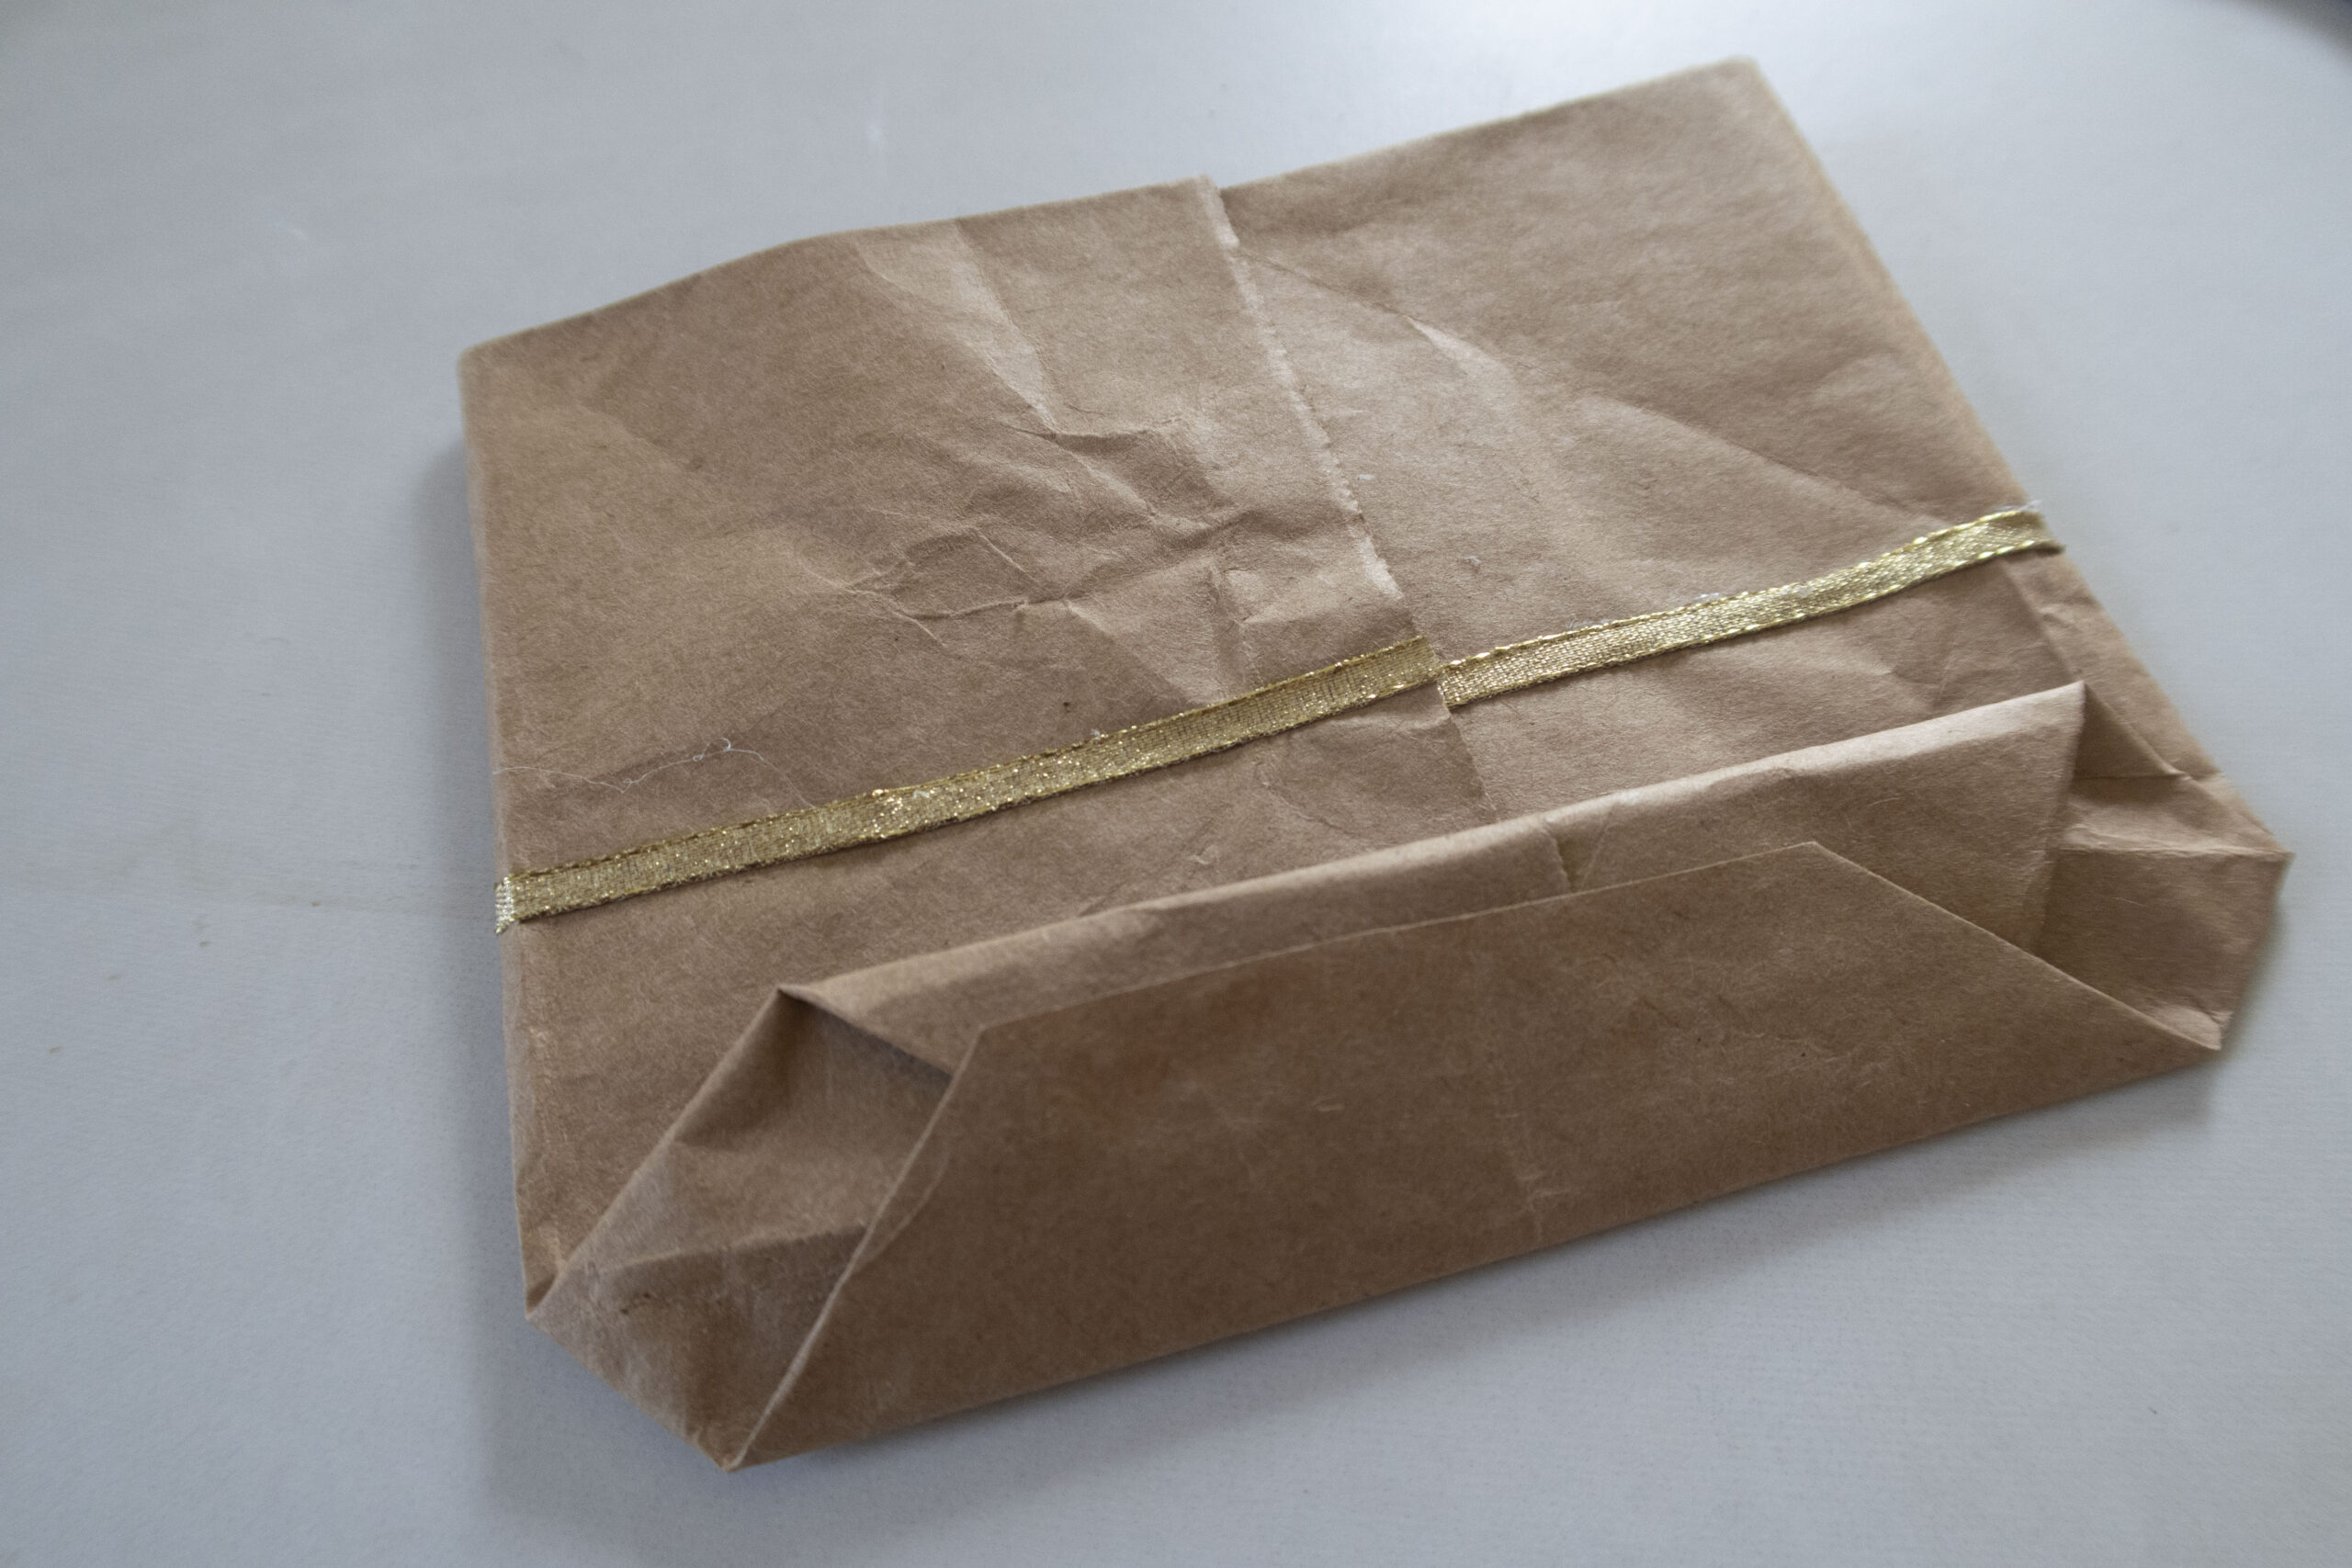
Fold the bottom up two to three inches. Holding the inner piece to the body of the bag, pull the outer side back down and open. This will pull the sides down into triangles — press them down to flatten.
Fold top corner of the bottom in, overlapping the center by about half an inch. Fold the lower corner of the bottom to also overlap the center by about half an inch. Apply glue between the folded pieces, which form the bottom of the bag and press to secure.
Once glue has dried, carefully open your bag.
Decorate the paper before you fold it into a bag, or after. Adding stamps or painting can make any type of paper more festive.
Secure your gift by closing the bag with a craft clothespin. You can add ribbon handles — use a single hole punch to make two holes on either side. Thread a ribbon through each side and secure with knots on the inside.
To make stronger bags out of newspaper (read the articles and save these instructions first!) double the sheets. If using brown paper grocery bags, don’t worry about logos on the outside — simply use the inside of the grocery bag for the outside of your gift bag.
If you have already recycled your paper, or if you want to make some really reusable gift wrap options that you can use for years to come, make bags out of fabric. Small rectangles of fabric leftover from other projects, or even smaller pieces stitched together into patchwork bags can look bright and festive.
Tie bags with a cloth ribbon, also reusable, and you’ll significantly cut down on the cost and waste of gift wrap.
This craft can be fun for the whole family — younger children may enjoy decorating the paper, while older kiddos and adults can do the more precise folding.
Making your own bags will make the presents under the tree this year even more special to look at leading up to Christmas day. If you don’t celebrate Christmas, save this DIY for next time you gift a birthday present or other gift.
Tweet @DominionPostWV


The above photos demonstrate the steps taken to create a DIY gift bag. Bags can be decorated with paint, decoupage, stickers, natural items, such as a sprig of pine needles, and ribbons or left plain for a minimalist look.
