
By Aldona Bird
Newsroom@DominionPost.com
Chilly weather is creeping in, which means it’s time to start switching to cozy clothing. If your fall apparel needs an update think twice before heading to a store.
With a little crafting you can update your wardrobe to make jackets, button up sweaters and other button up items feel fresh again. The tweak to refresh such clothing — homemade buttons.
There are many ways to make buttons, but making wooden ones is a simple way to create a very cool garment update.
To make wooden buttons you will need:
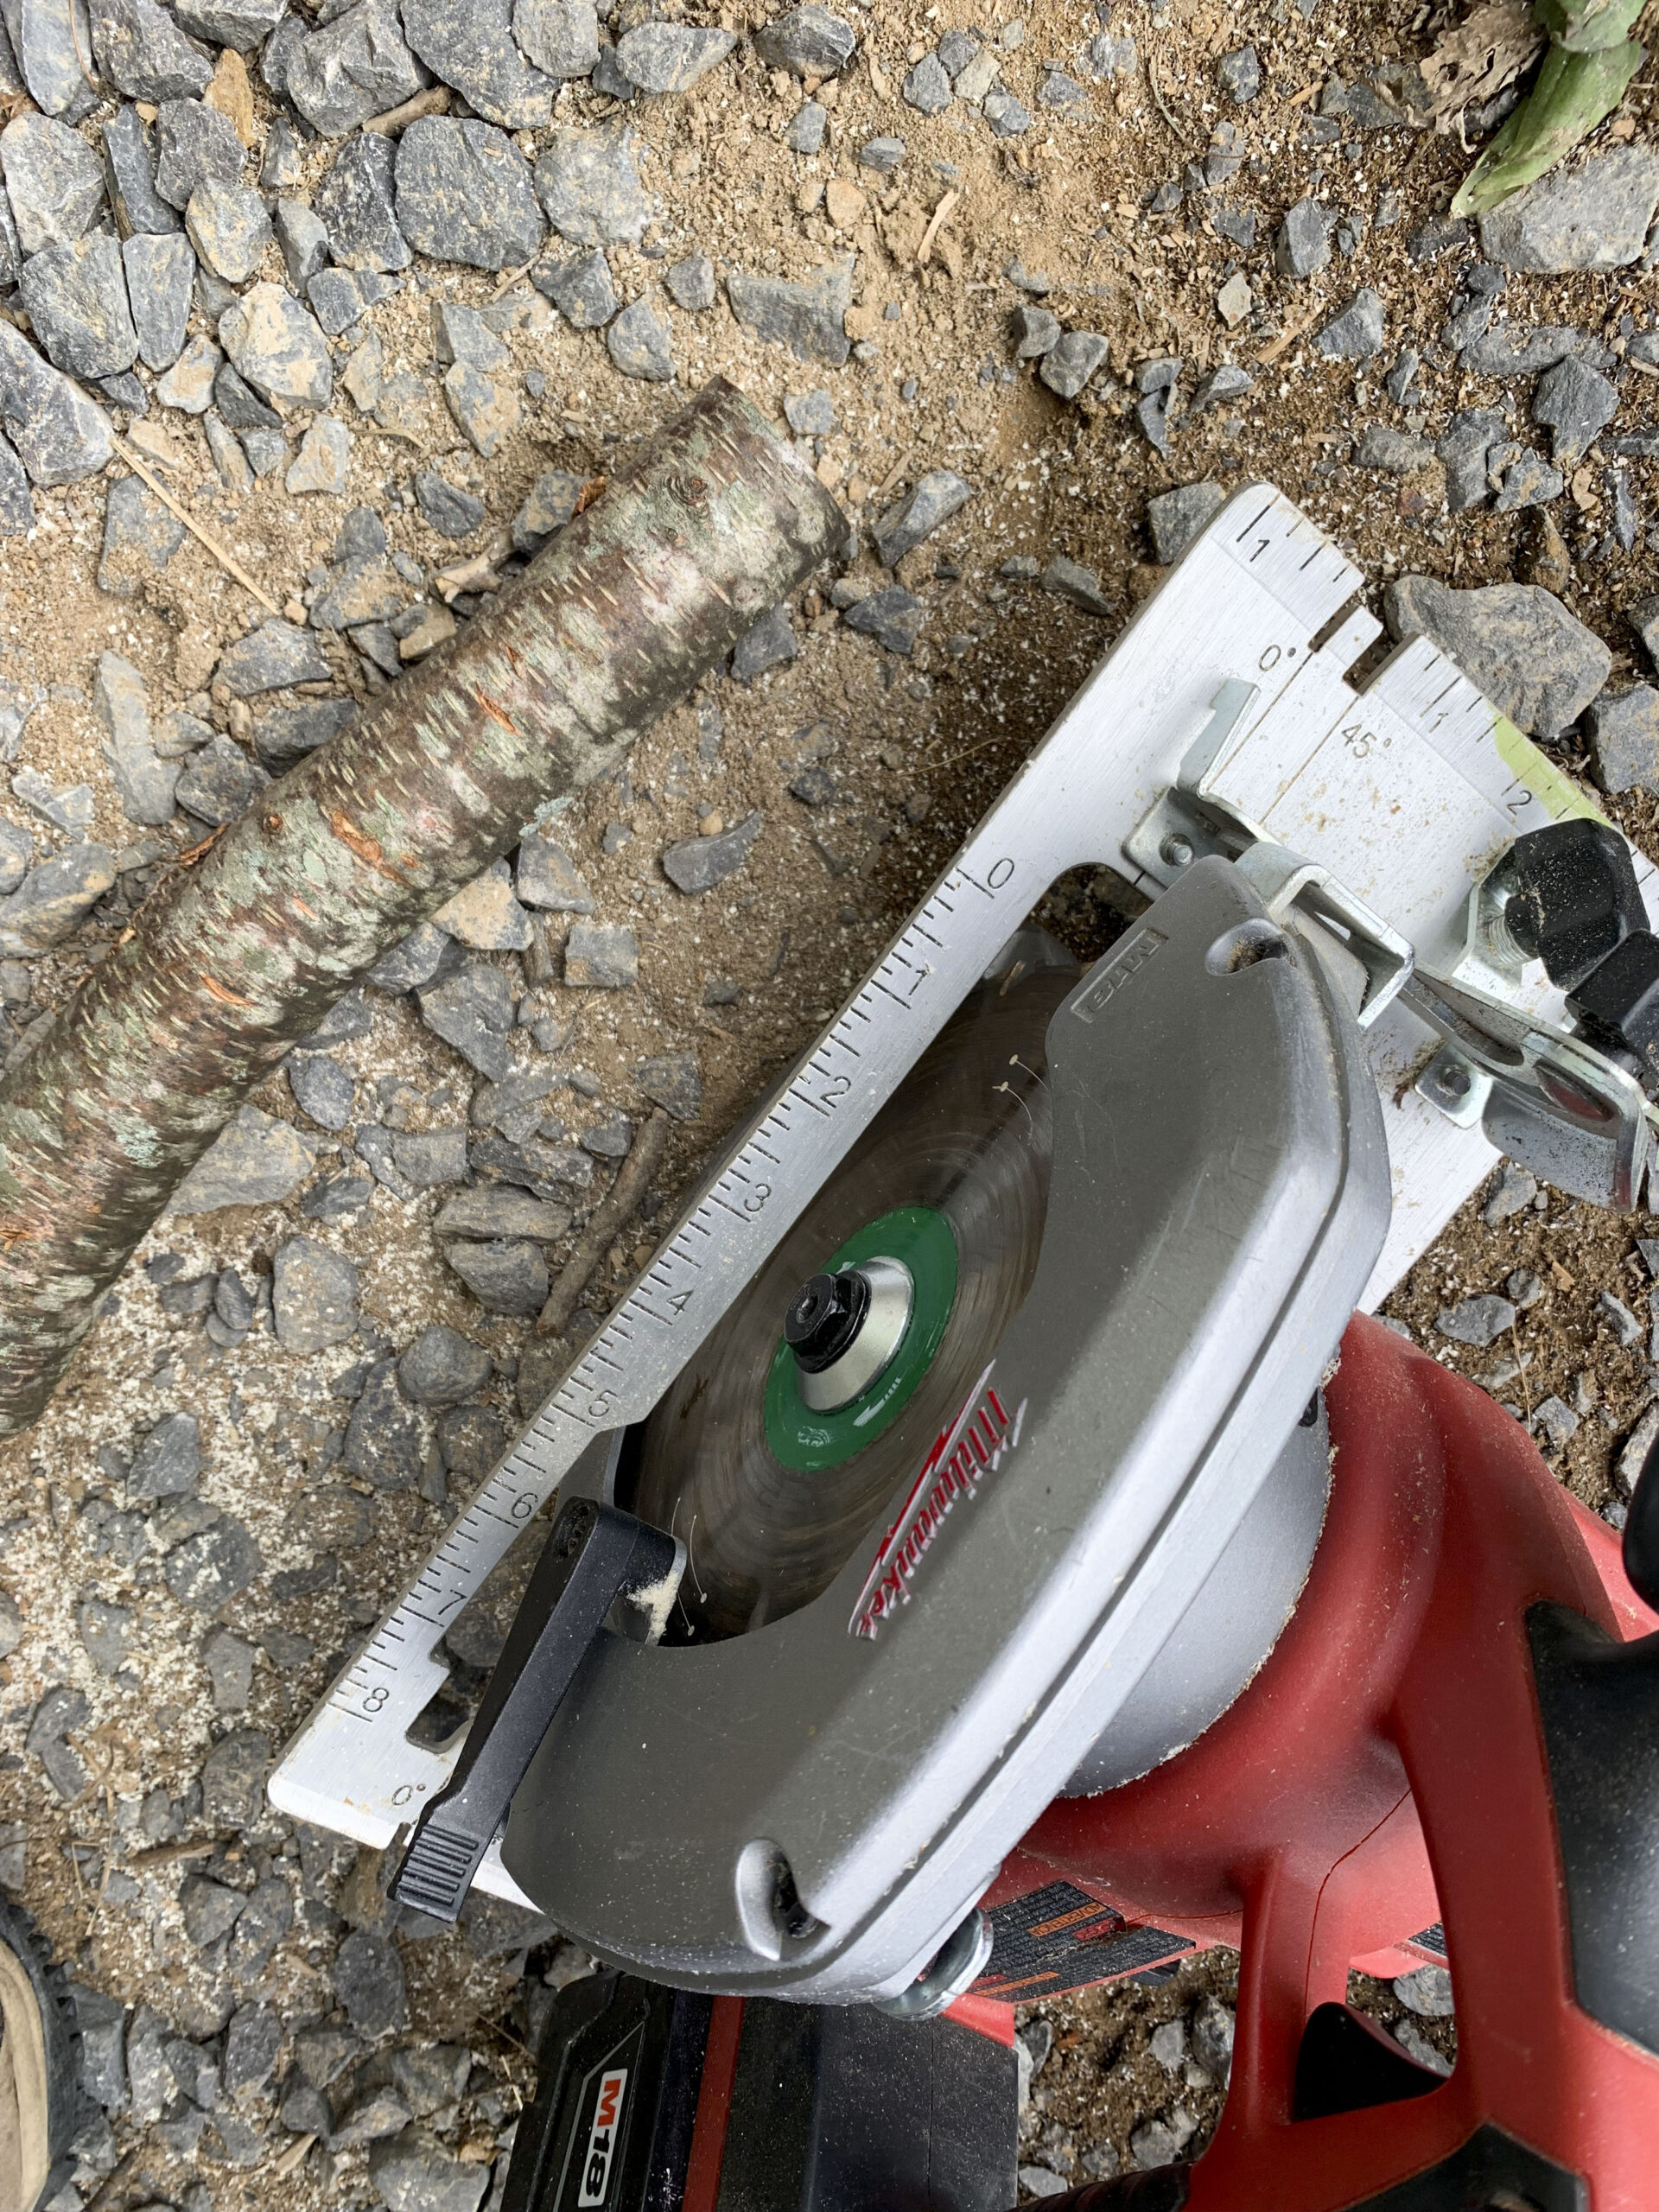
- Tree branches in the diameter button you would like
- Saw
- Pencil
- Drill and bits
- Sandpaper
- Wood stain (optional)
Select your branches — they should be solid (not rotting) with at least some straight sections and not many offshoot branches. You can use green or dried wood, but if you opt for green keep in mind that the buttons may change color and crack as the wood dries.
You can also upcycle other wood — such as a wooden handle from a worn out broom, or even bits of squared wood from other projects.
Using a circular saw, hand saw, table saw or other saw, cut slices of your branches/wood. Aim to cut them evenly about a quarter of an inch thick.
Cut a few more buttons than you need, in case one breaks, etc.
Mark where you want the thread holes on your buttons to be with a pencil. Consider whether two or four holes would look better.
Or think outside the box and make a pattern with the holes — arrange them so when you stitch thread through it looks like a flower, geometric design or other pattern. Adding your own creative flare to your DIY buttons can make any garment you put them on even more styled.
Use a small drill bit to make the thread holes. Make them large enough to pull needle and thread through to secure the buttons, but not so big that thread in them will be loose.
To safely drill the holes place a scrap piece of wood under the button on your work table. Clamp the scrap wood to the table, and the button to the scrap wood or to both. This will hold the assembly securely while you drill the holes.
Using a medium grit sandpaper, sand off any rough parts of your button. You can sand around the edges to round them slightly, or leave them as is. Be sure to smooth both sides of the buttons, so no rough areas wear on or snag your clothing.
Take a large needle or other tool and clear out any wood dust that may have filled the button holes.
If you chose to stain or seal the wood buttons, be sure to again clear the holes so they don’t fill with the stain or sealant.
Swap out conventional buttons on any garment with your handmade wooden buttons, and step stylishly into autumn.
TWEET @DominionPostWV
