By Aldona Bird
Newsroom@DominionPost.com
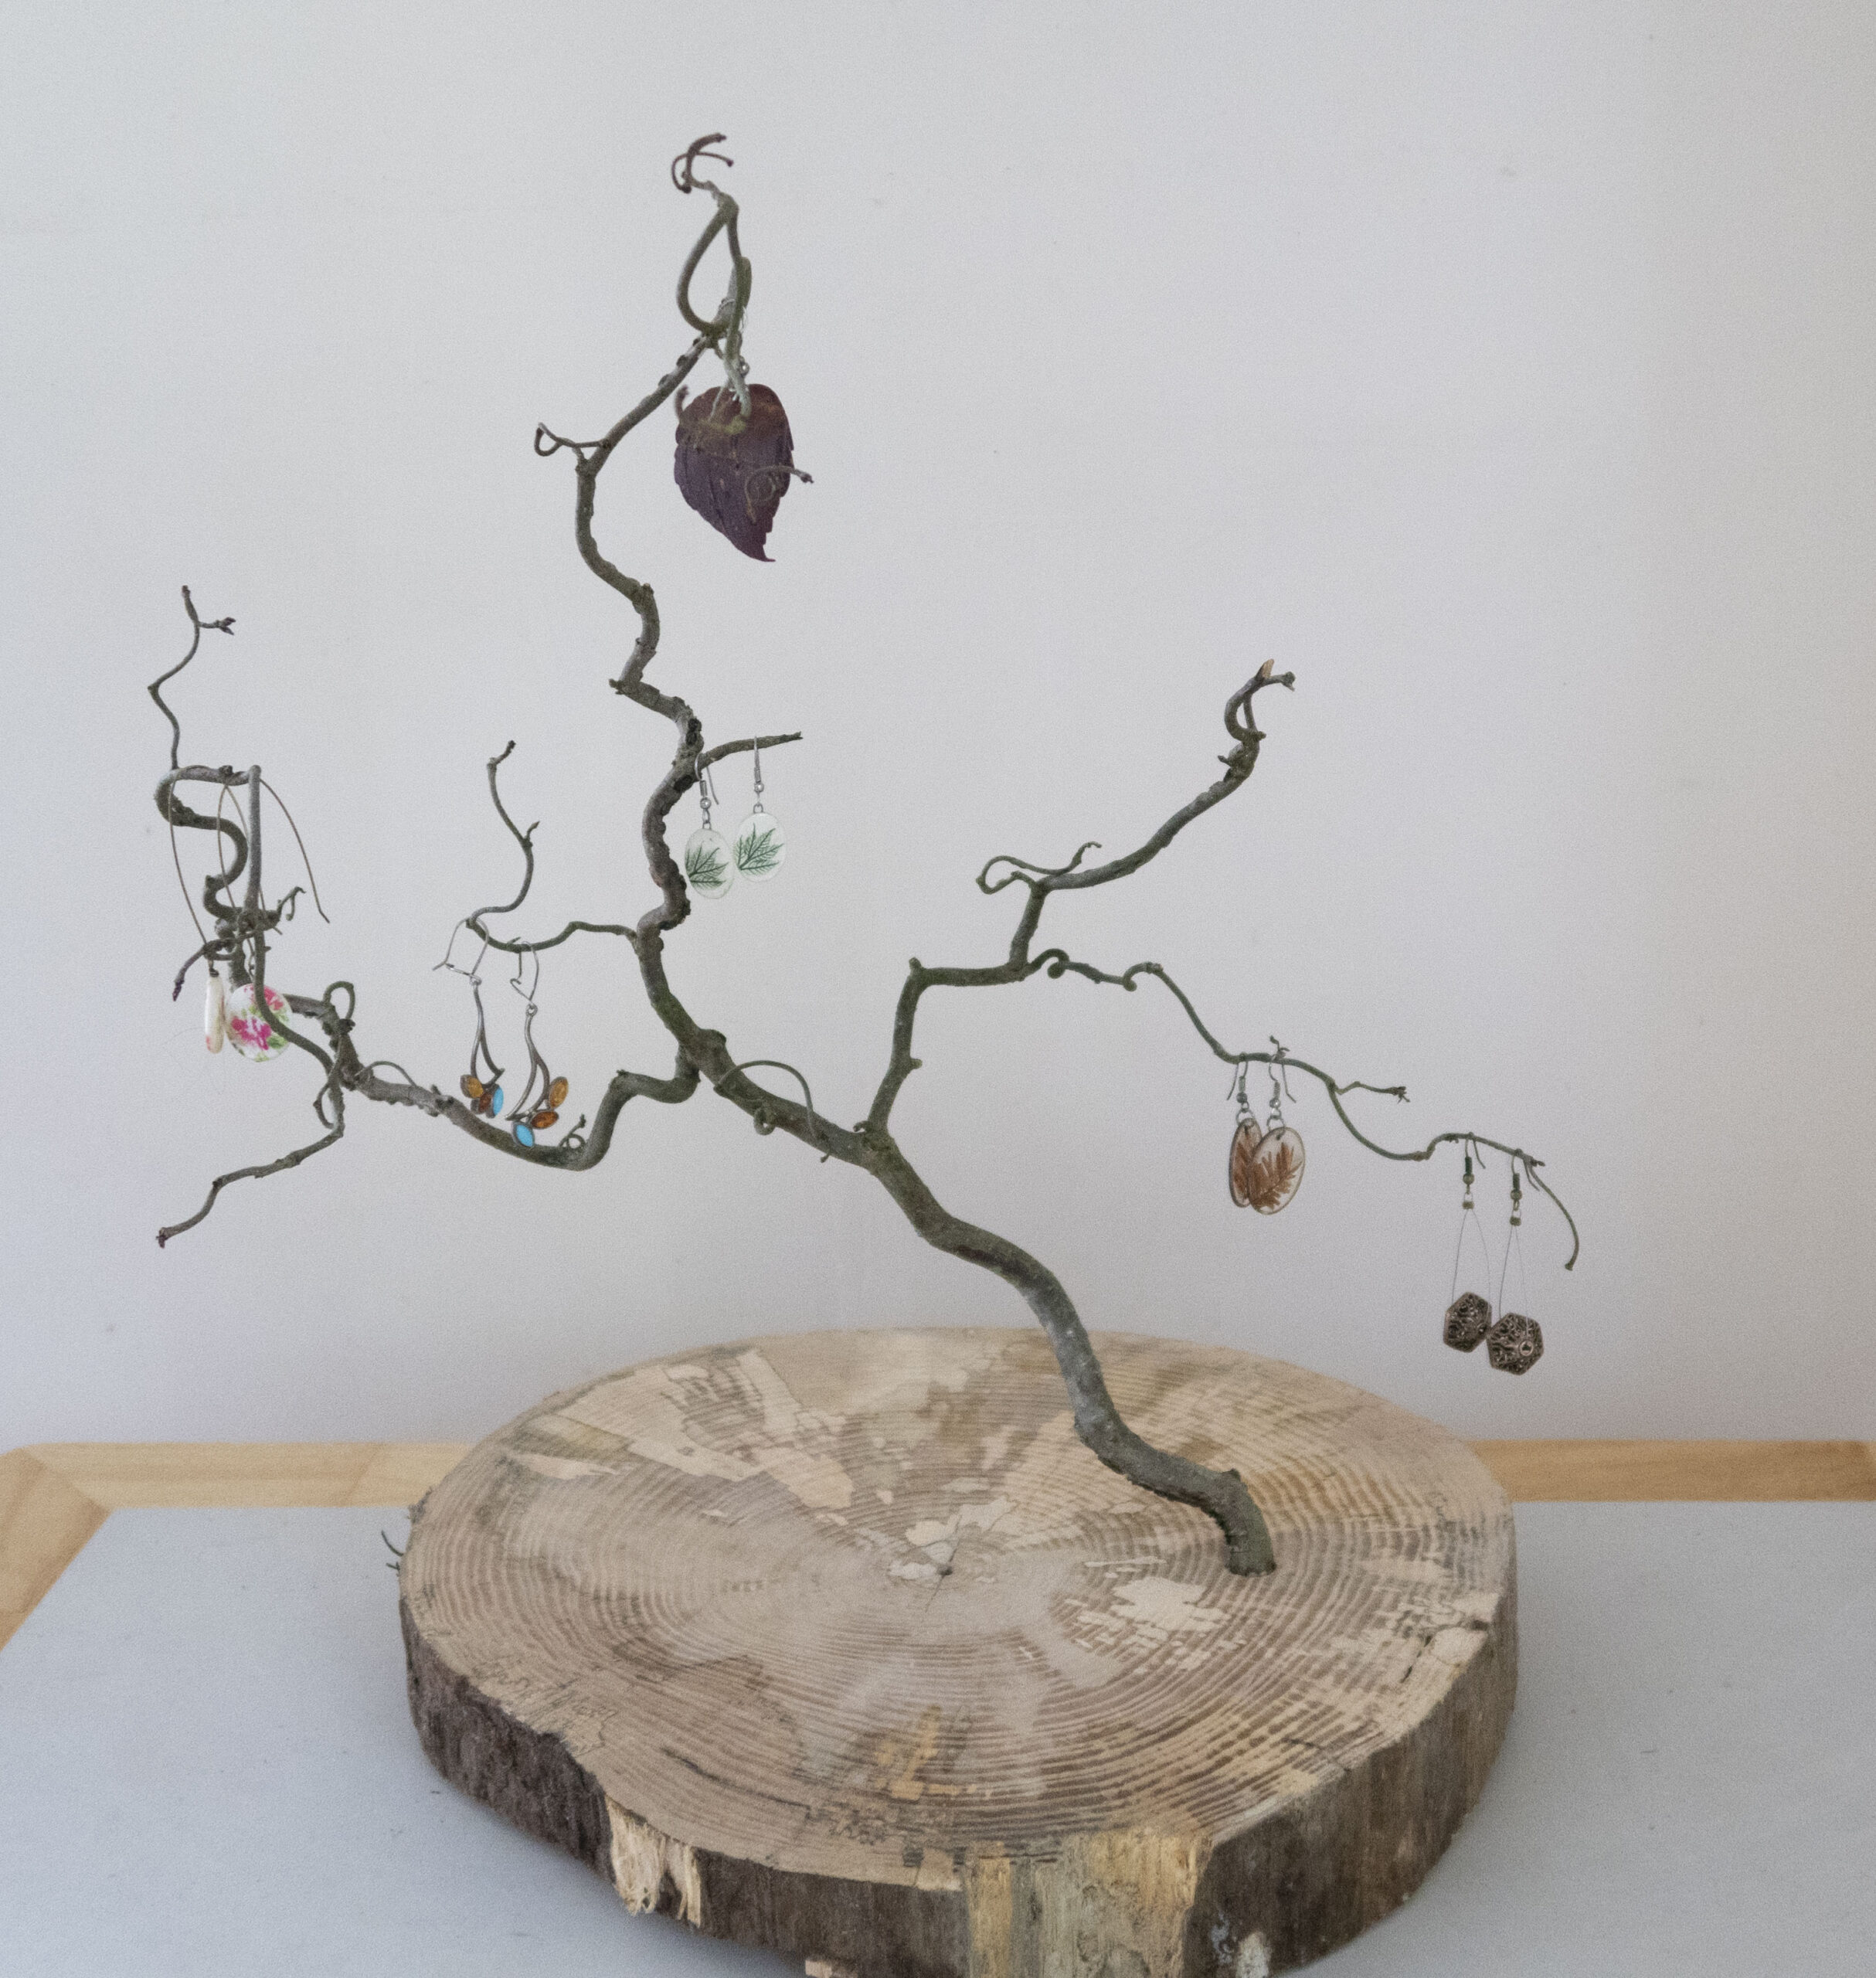
Maybe you want a new and interesting way to organize your jewelry. Or maybe you want to make a gift for someone who has jewelry to display. Or, just maybe, you like collecting interesting looking branches while on walks in the woods.
If one or more of these apply to you, this DIY will be the perfect fit. Use wood you already have or go forage some to make your own unique jewelry tree.
To make a DIY jewelry tree, you will need:
- Branches
- Wood for the base
- Saw (chain saw most likely, and perhaps a hand saw)
- Drill and bits
- Sandpaper/sander (optional, depending on what type of base you use)
- Wood glue (optional)
- Varnish or other wood finish (optional)
- Cup hooks (optional)
Enjoy the process of finding wood for the branches and the base. Take a walk in the woods alone, with friends or get kids involved to help scavenge a variety of wood. Bring home a few options for the base and the branches — you never know when something will break or which combination of wood will look perfect.
If you want a circular log slice base, find a fallen but not rotten tree to saw. Use a chain saw, and cut a slice or two. If the wood is strong and not cracked, you can make a thinner base — about an inch thick. However, a thicker base (two or even three inches thick) can look nice, as long as it isn’t too large and cumbersome.
Use a belt sander or sand the base by hand to even out a rough cut and make the surface smooth.
A log, plain and simple or with an interesting shape or texture, also works well as a base. Find a log that is no less than a foot long for best balance. If it is too short, your finished product may tip over once loaded up with jewelry.
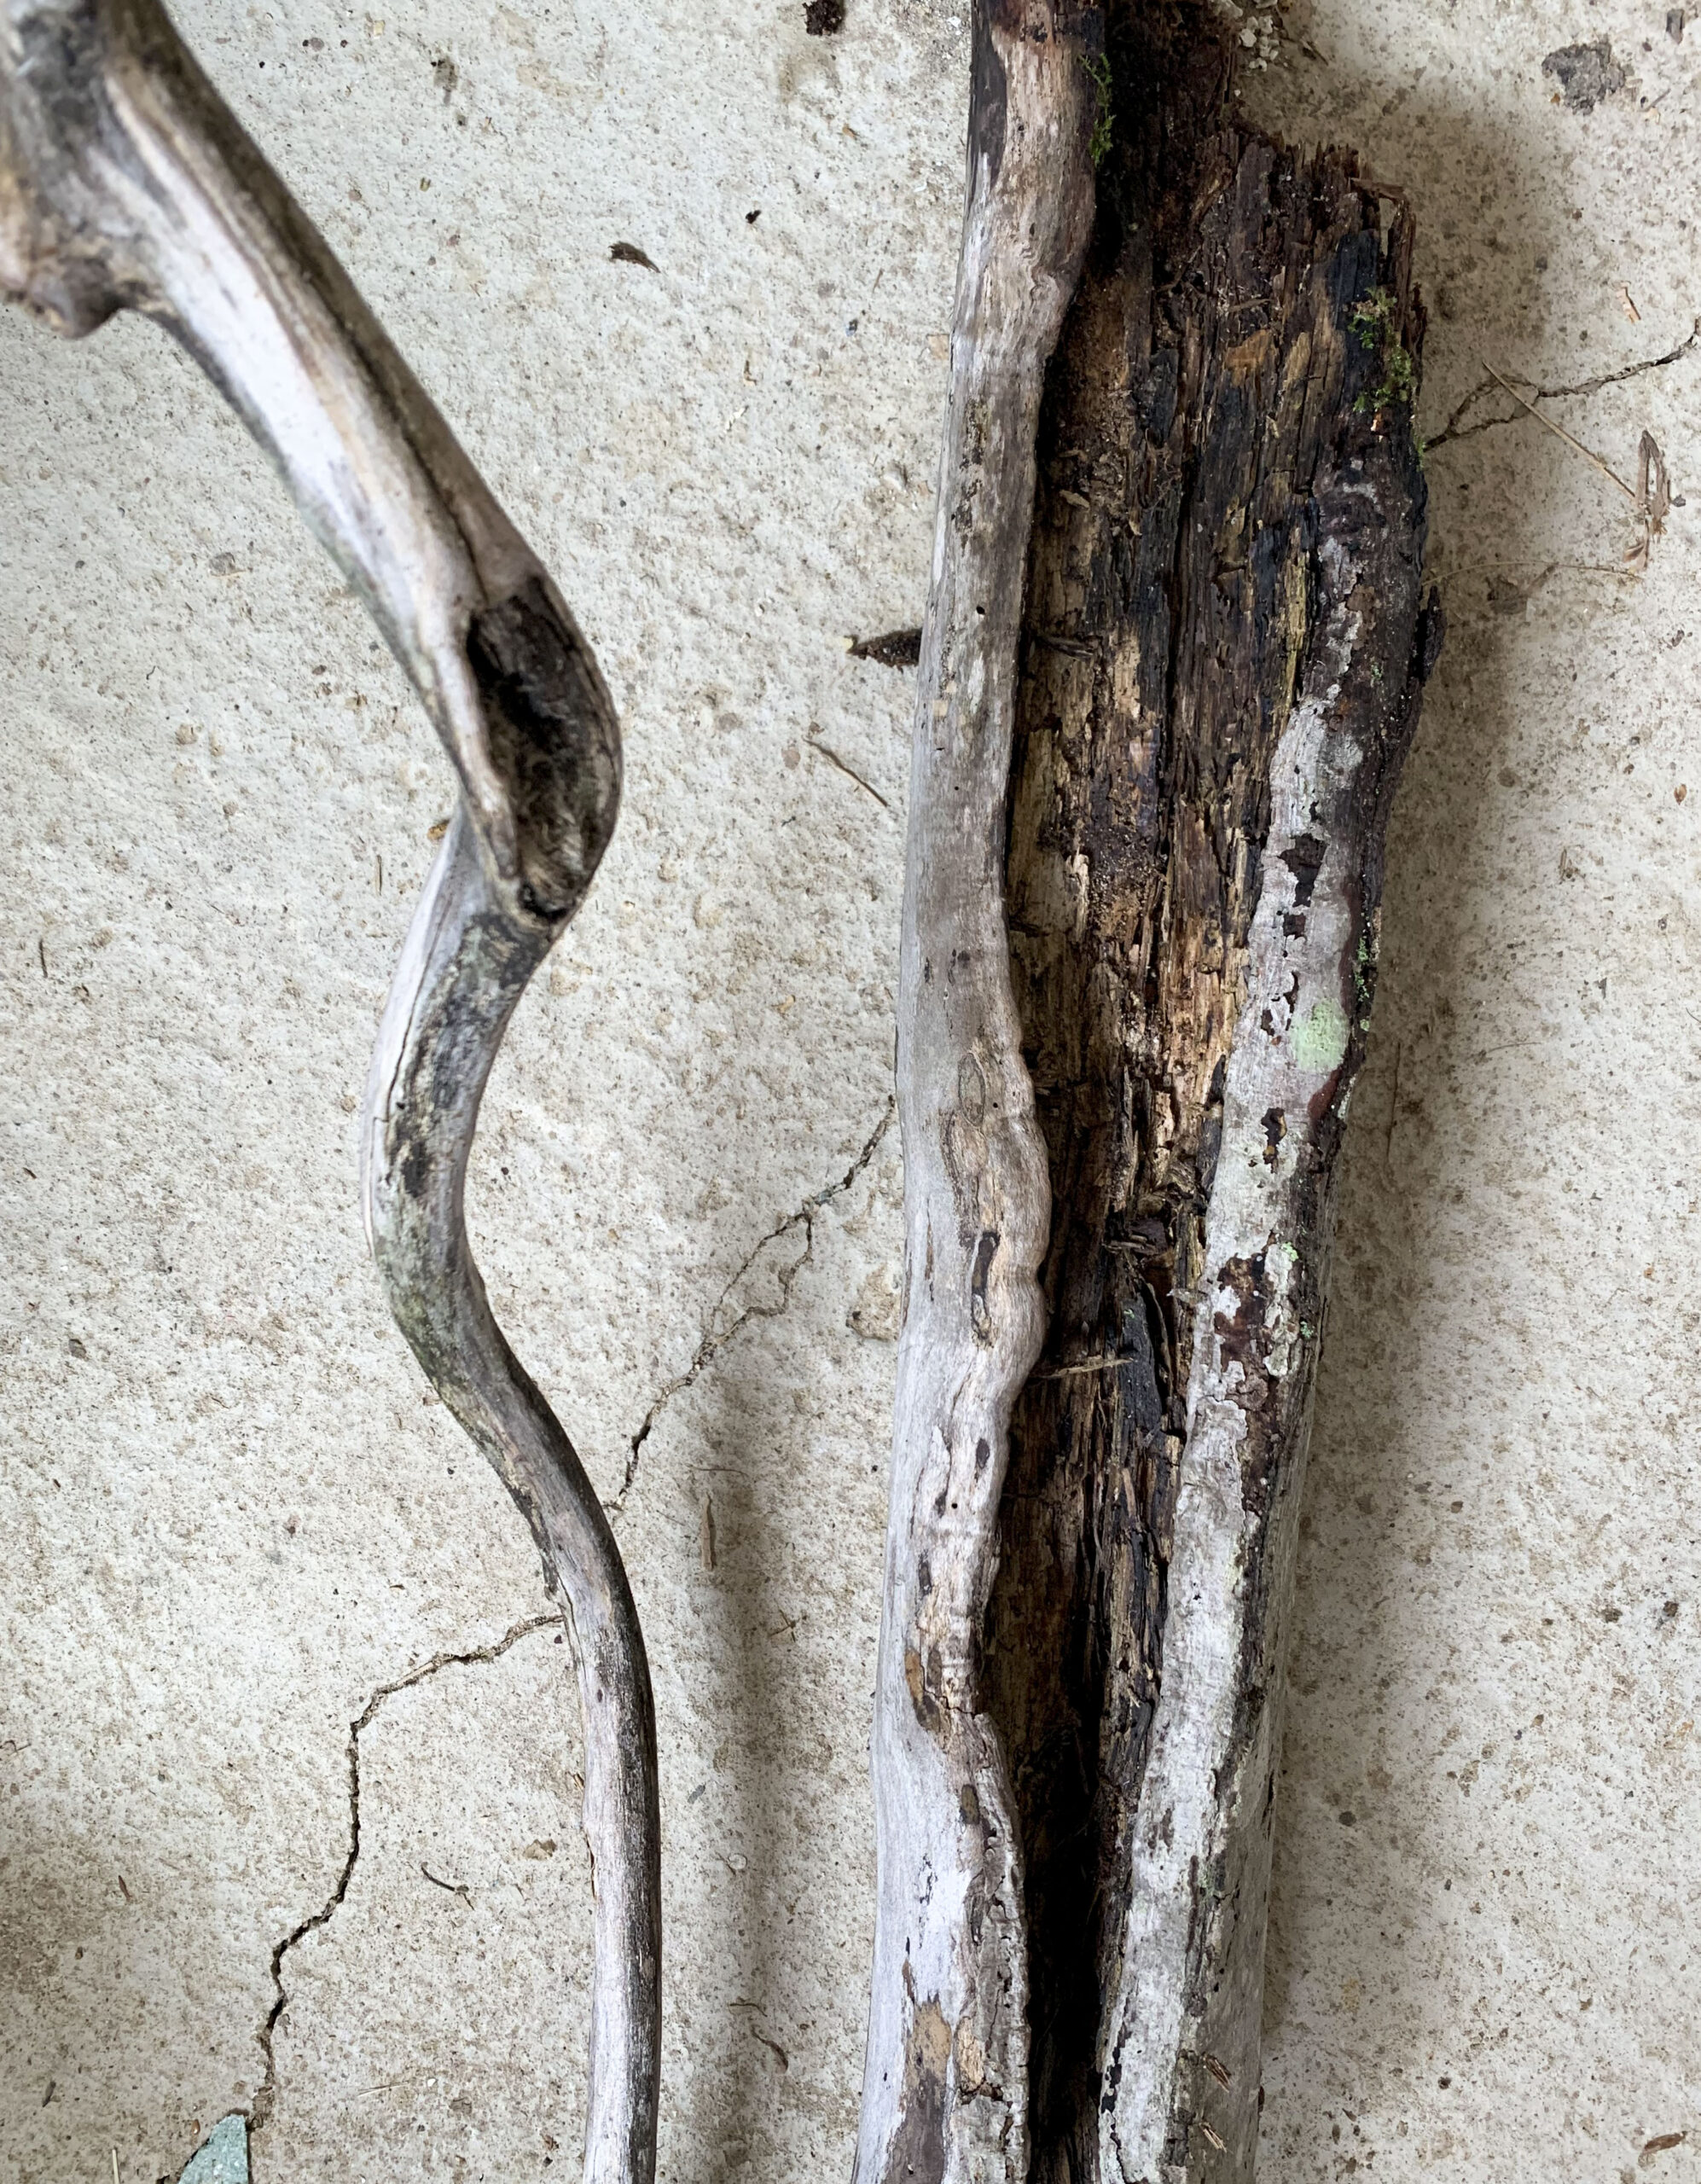

Arrange different branches to see which will work best for your aesthetics and needs. You can use any type of branch — one with many offshoots or even just a single stick with no branches at all.
If opting for a single branch, consider whether it is thin enough to hook earrings over, or thick enough to support cup hooks twisted into it. If you use hooks, twist them into the branch at intervals you think will best display the items you want to hang.
You may even want to use multiple branches per base.
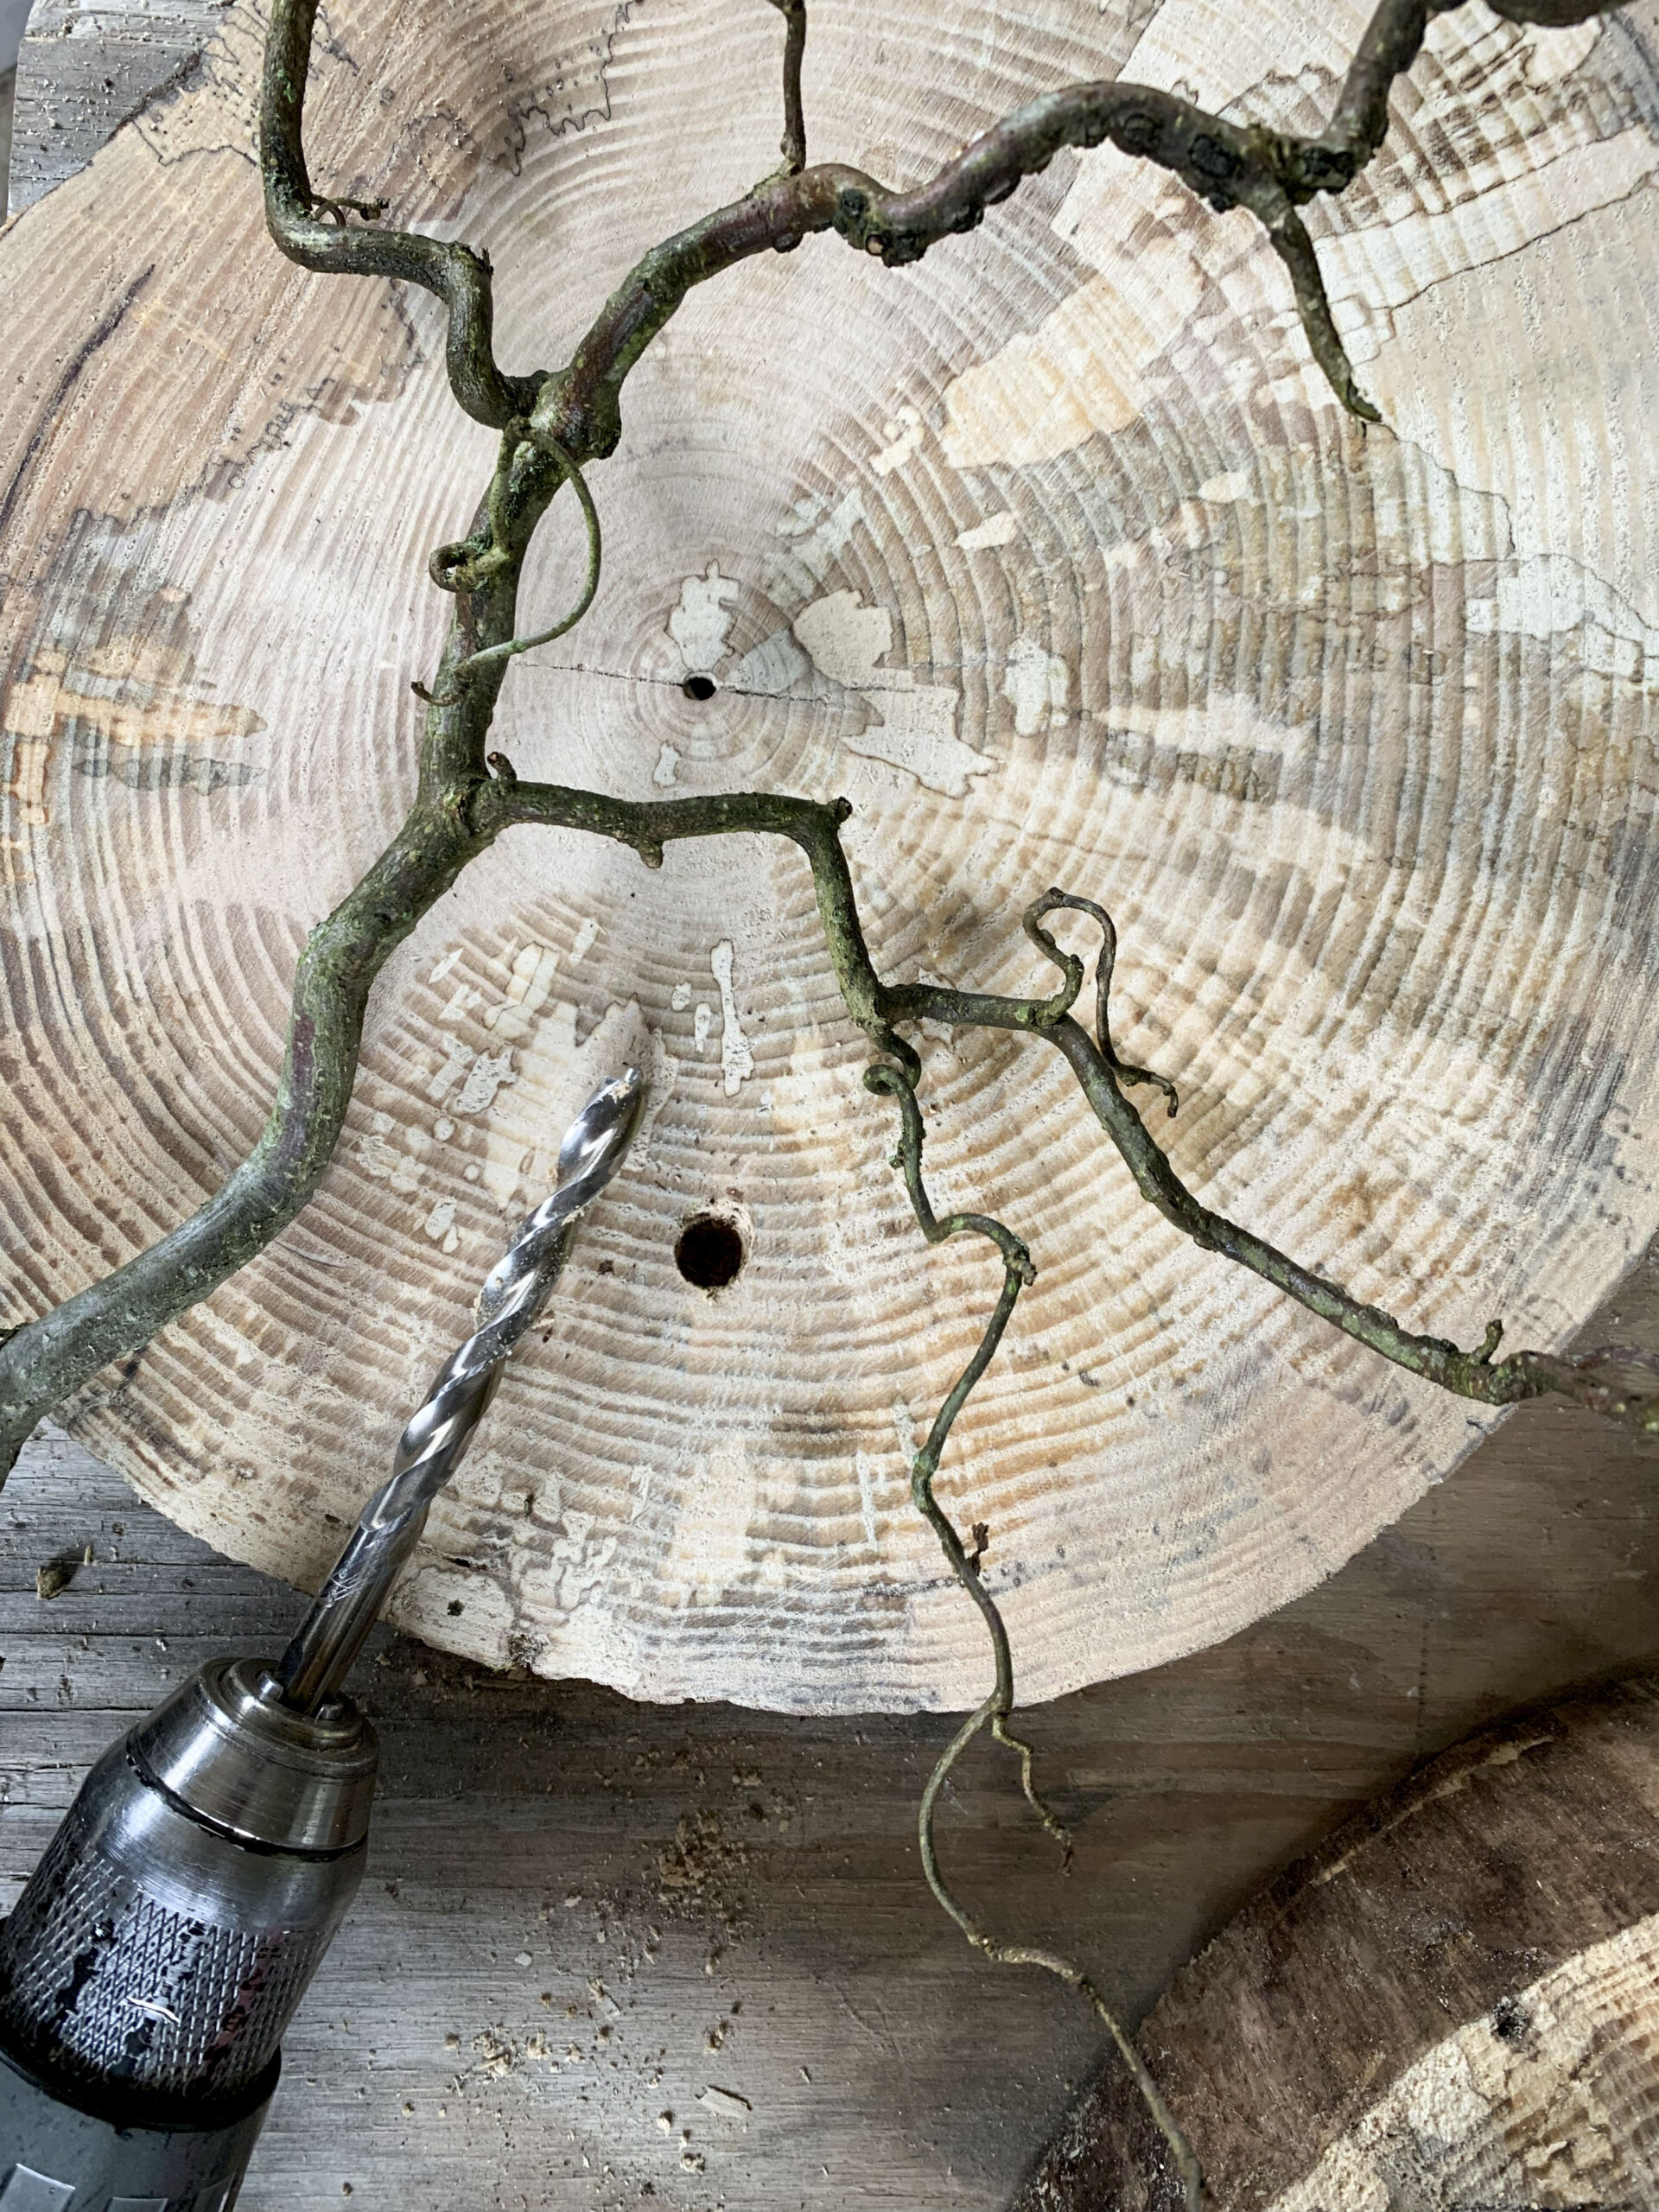
For any type of branch, consider the placement on the base and the angle at which it should be secured. Use a drill the same width as the branch to make a hole in the base at the angle you choose. If you have to choose between a drill bit that is too large or too thin, opt for a size down and carefully scrape off as much of the outer layer of the branch as you need to make a snug fit.
If the fit is snug and secure, you can choose to not use wood glue. If you want to give it a little extra strength, apply some wood glue as the instructions on the bottle direct.
You can apply varnish or another type of wood finish or paint to seal your jewelry tree. However, if you like the raw look, you can leave it as is.
Hang jewelry off the branches (or hooks, if you used a single thicker branch), and display or gift to someone who will enjoy the natural, zero waste, eco-friendly home décor.
TWEET @DominionPostWV

