By Aldona Bird
Newsroom@DominionPost.com
A misplaced trowel can slow planting down. Locating garden snips or other garden tools that you’ve set aside can not only take time but can be quite annoying.
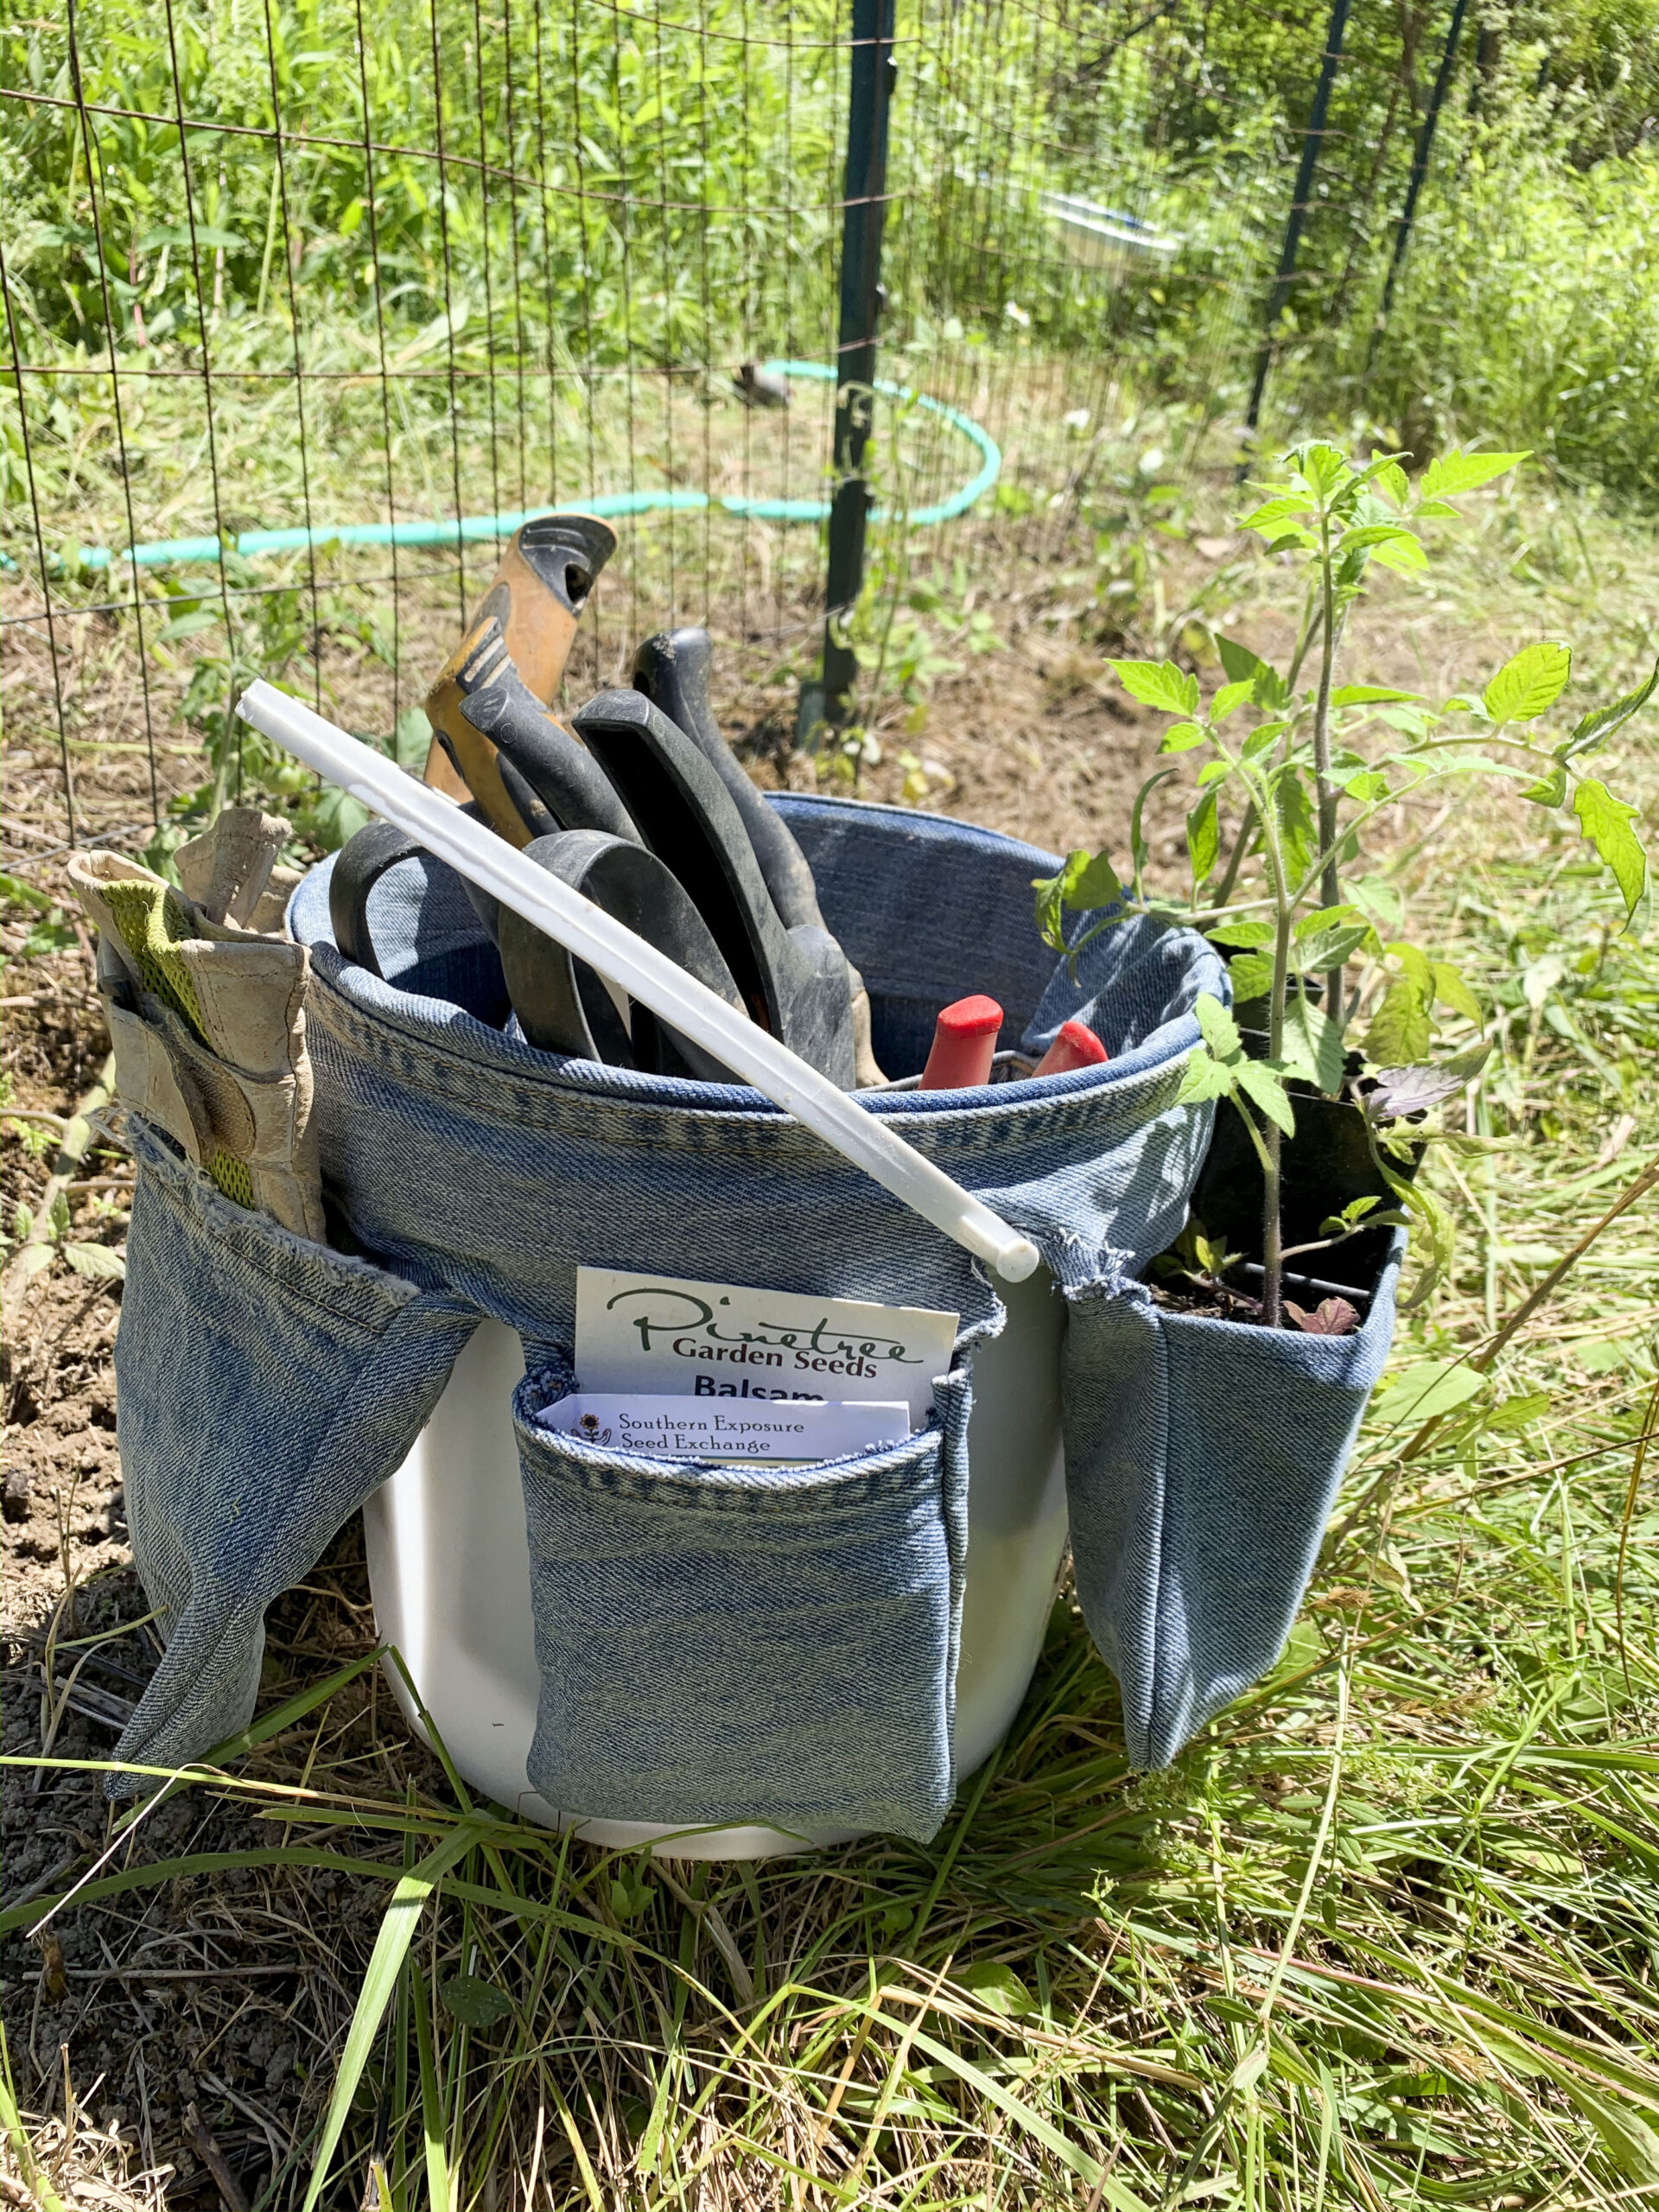
With this DIY, you can quickly make a bucket caddy to organize not only your tools but also garden gloves, seeds and have space to carry a few pots of seedlings too. In addition to organizing garden essentials, it makes carrying all of them easy and convenient.
To make a garden bucket caddy you will need:
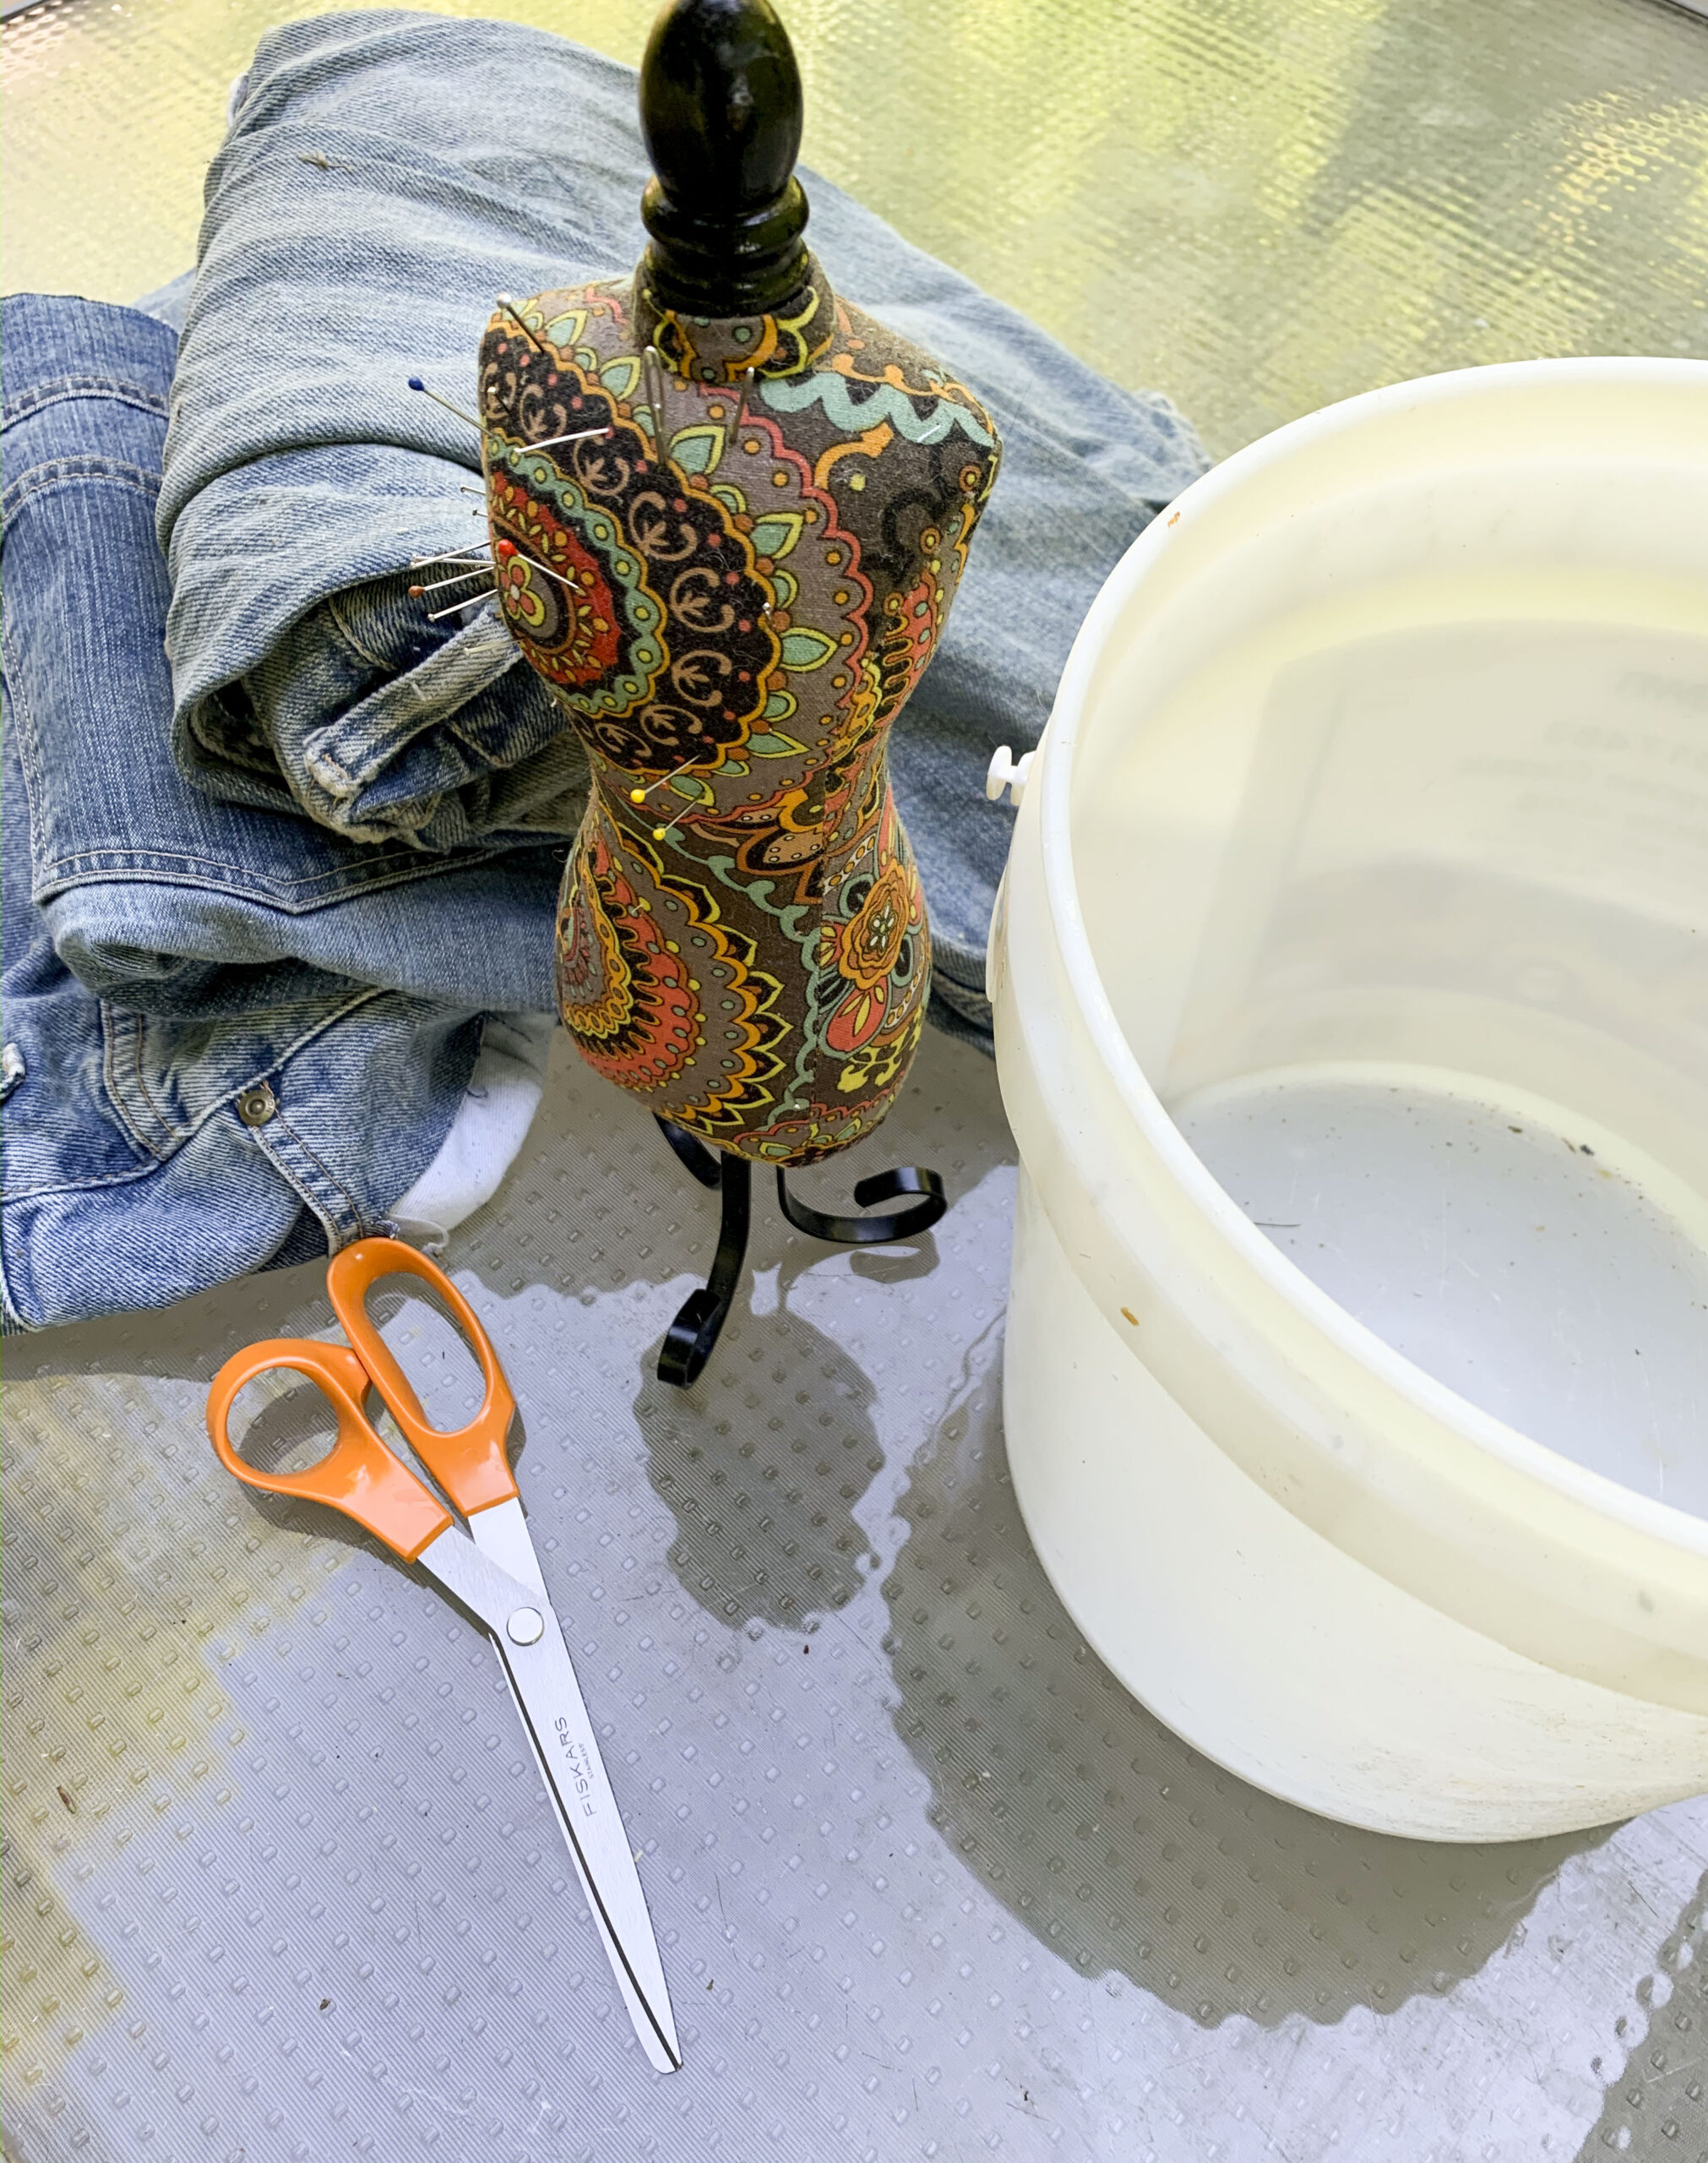
- Fabric (ripped or worn out jeans work well)
- Sewing tools (scissors and pins)
- Sewing machine and thread
- Bucket
You can make a caddy for any size bucket. Smaller buckets, such as the two-gallon bucket shown in these photos, is a nice size, especially if you carry your tools around a lot. Larger buckets work if you prefer to carry more things at once, or if you don’t carry your tools far when gardening.
First, measure and cut a band of fabric to fold over the top edge of the bucket. If you are using old jeans the inner leg seam works well for this, and the seam folds easily and can give some structure to the caddy around the bucket rim.
Cut this band of fabric wide enough so that a few inches of fabric hang down inside and outside of the bucket. Leave an overlap of about an inch at the ends for hemming.
Design the pockets you want on your bucket caddy. Consider what tools and other things you will want to carry in the caddy. You can make a pocket to fit seed packets, specific sizes to fit your favorite tools or you can just make a variety of sizes.
Make enough pockets to go all the way around the outside of your bucket, with a small gap halfway around for the bucket handle. You can make pockets to fill the whole inside as well, or just a few.
If you are upcycling jeans for this project, the back pockets work well to make caddy compartments. Simply cut closely around the sides and bottom of the pockets, and leave an inch of fabric at the top to sew to the bucket rim band.


To make the other compartments, cut squares or rectangles of fabric, hem the side which will be the front of the opening, then sew the sides securely. Sew with right sides together, and then turn right sides out. You can also make several larger pockets, and after turning it right side out, sew seams on top to divide it into smaller sections.
However you opt to make the pockets, leave an inch at the top to make attaching your compartment easy.
Once you have as many pockets as you want, pin them to the band, right sides together. Using a straight stitch, secure the pockets to the band. Then zigzag along the edge all the way around on each side of the band to keep the fabric from fraying.
Turn the caddy over to the right side, and folding the edge and pocket seams up as a hem, straight stitch to secure it. This will make the caddy look nice and have more strength.
Sew ribbons or thin strips of fabric to the ends of the caddy to use as ties.
This is a good project for practicing your sewing skills. Precision is not as crucial for a bucket caddy as it is for more advanced projects.
If you don’t have a sewing machine, you can sew this caddy by hand. Upcycling pockets from jeans and other garments will give you less sewing to do and make the project go faster.
Tie your finished caddy securely around the rim of your bucket, and fill with your gardening essentials. Keep your favorite tools, seeds and seedlings organized and easy to reach to enjoy gardening all the more.
TWEET @DominionPostWV
