By Aldona Bird
Newsroom@DominionPost.com
With Mother’s Day, graduations and other events coming up, it’s the perfect time to make greeting cards.
Grab some pretty paper and your art supplies of choice and create one-of-a-kind cards for special people in your life.
To give your greetings and good wishes a bit of extra flair, write them in homemade pop-up cards. Pop-up cards are highly customizable, fun to make, and even more, fun to open.
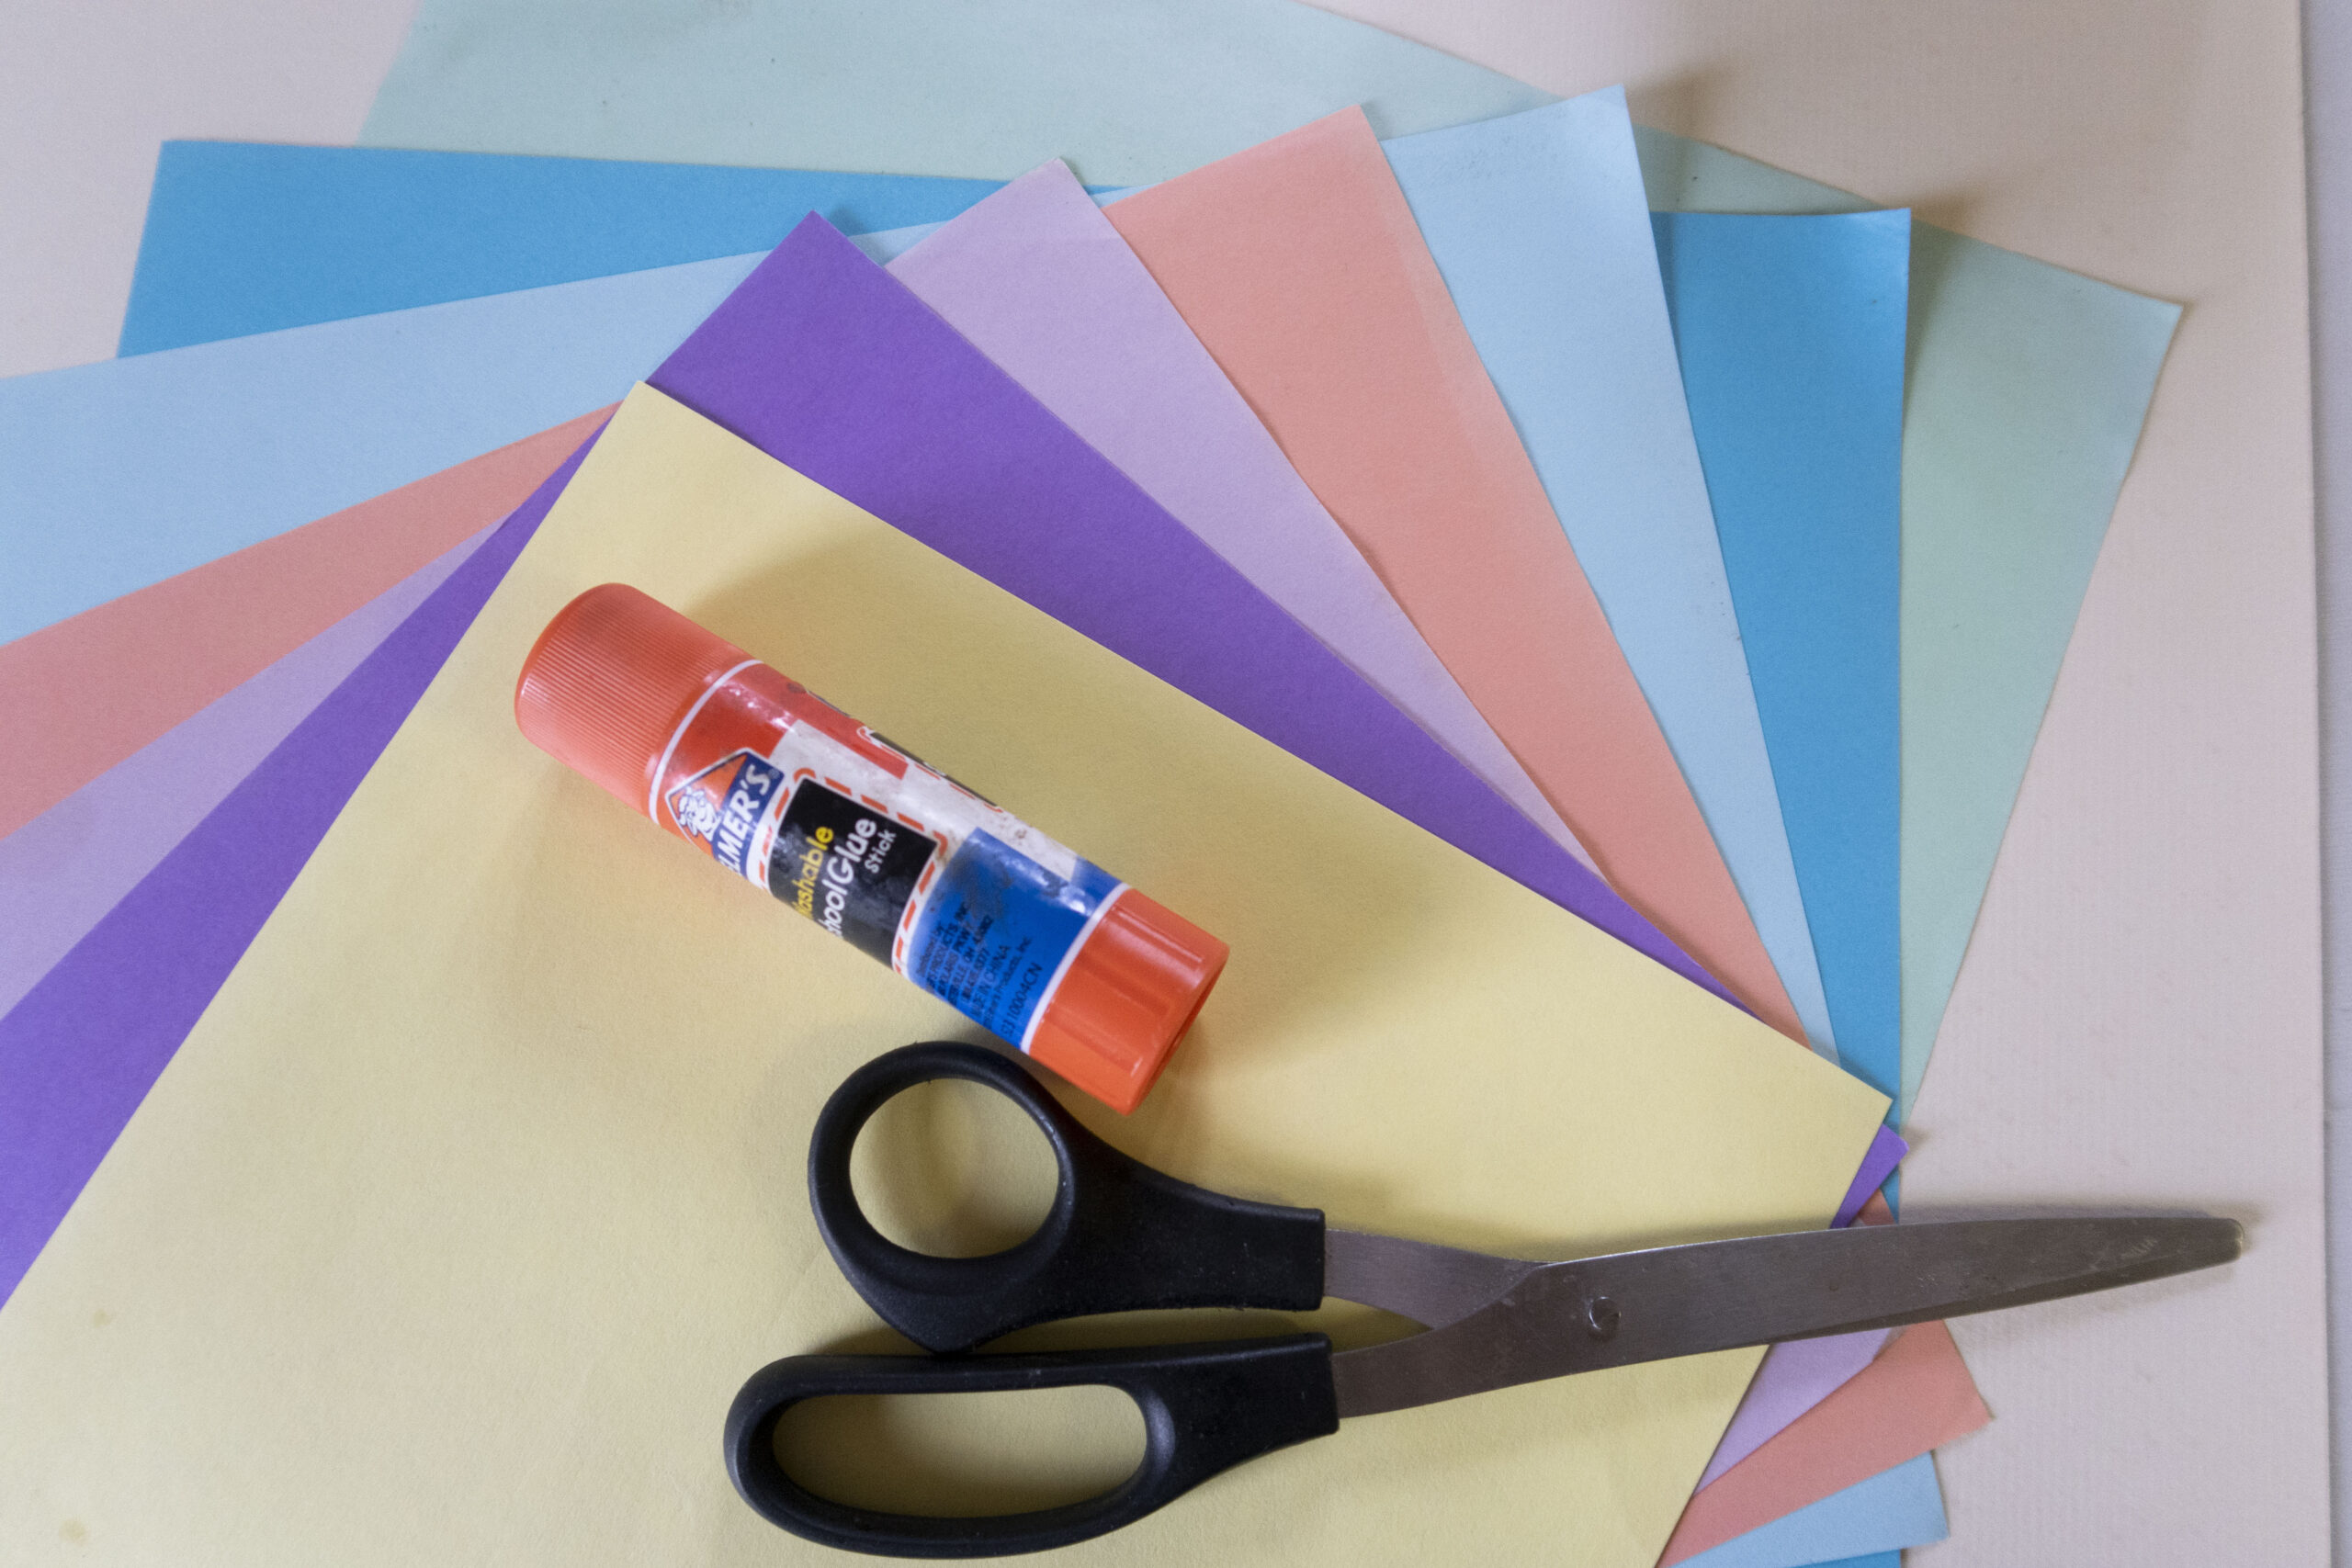
When making pop-up cards, you’ll need:
- Paper in various colors and weights
- Glue
- Scissors
- Pencil
Depending on your cutting preferences, you may also want an Xacto knife and cutting mat. You can also use colored pencils, markers, paint, stamps or other tools to further decorate your card.
Pop-up elements can be attached directly to the card, or can be glued onto a bridge that is then attached to the card. If you choose to attach them directly, make sure the pop-up pieces fold properly to be snug inside when the card is closed.
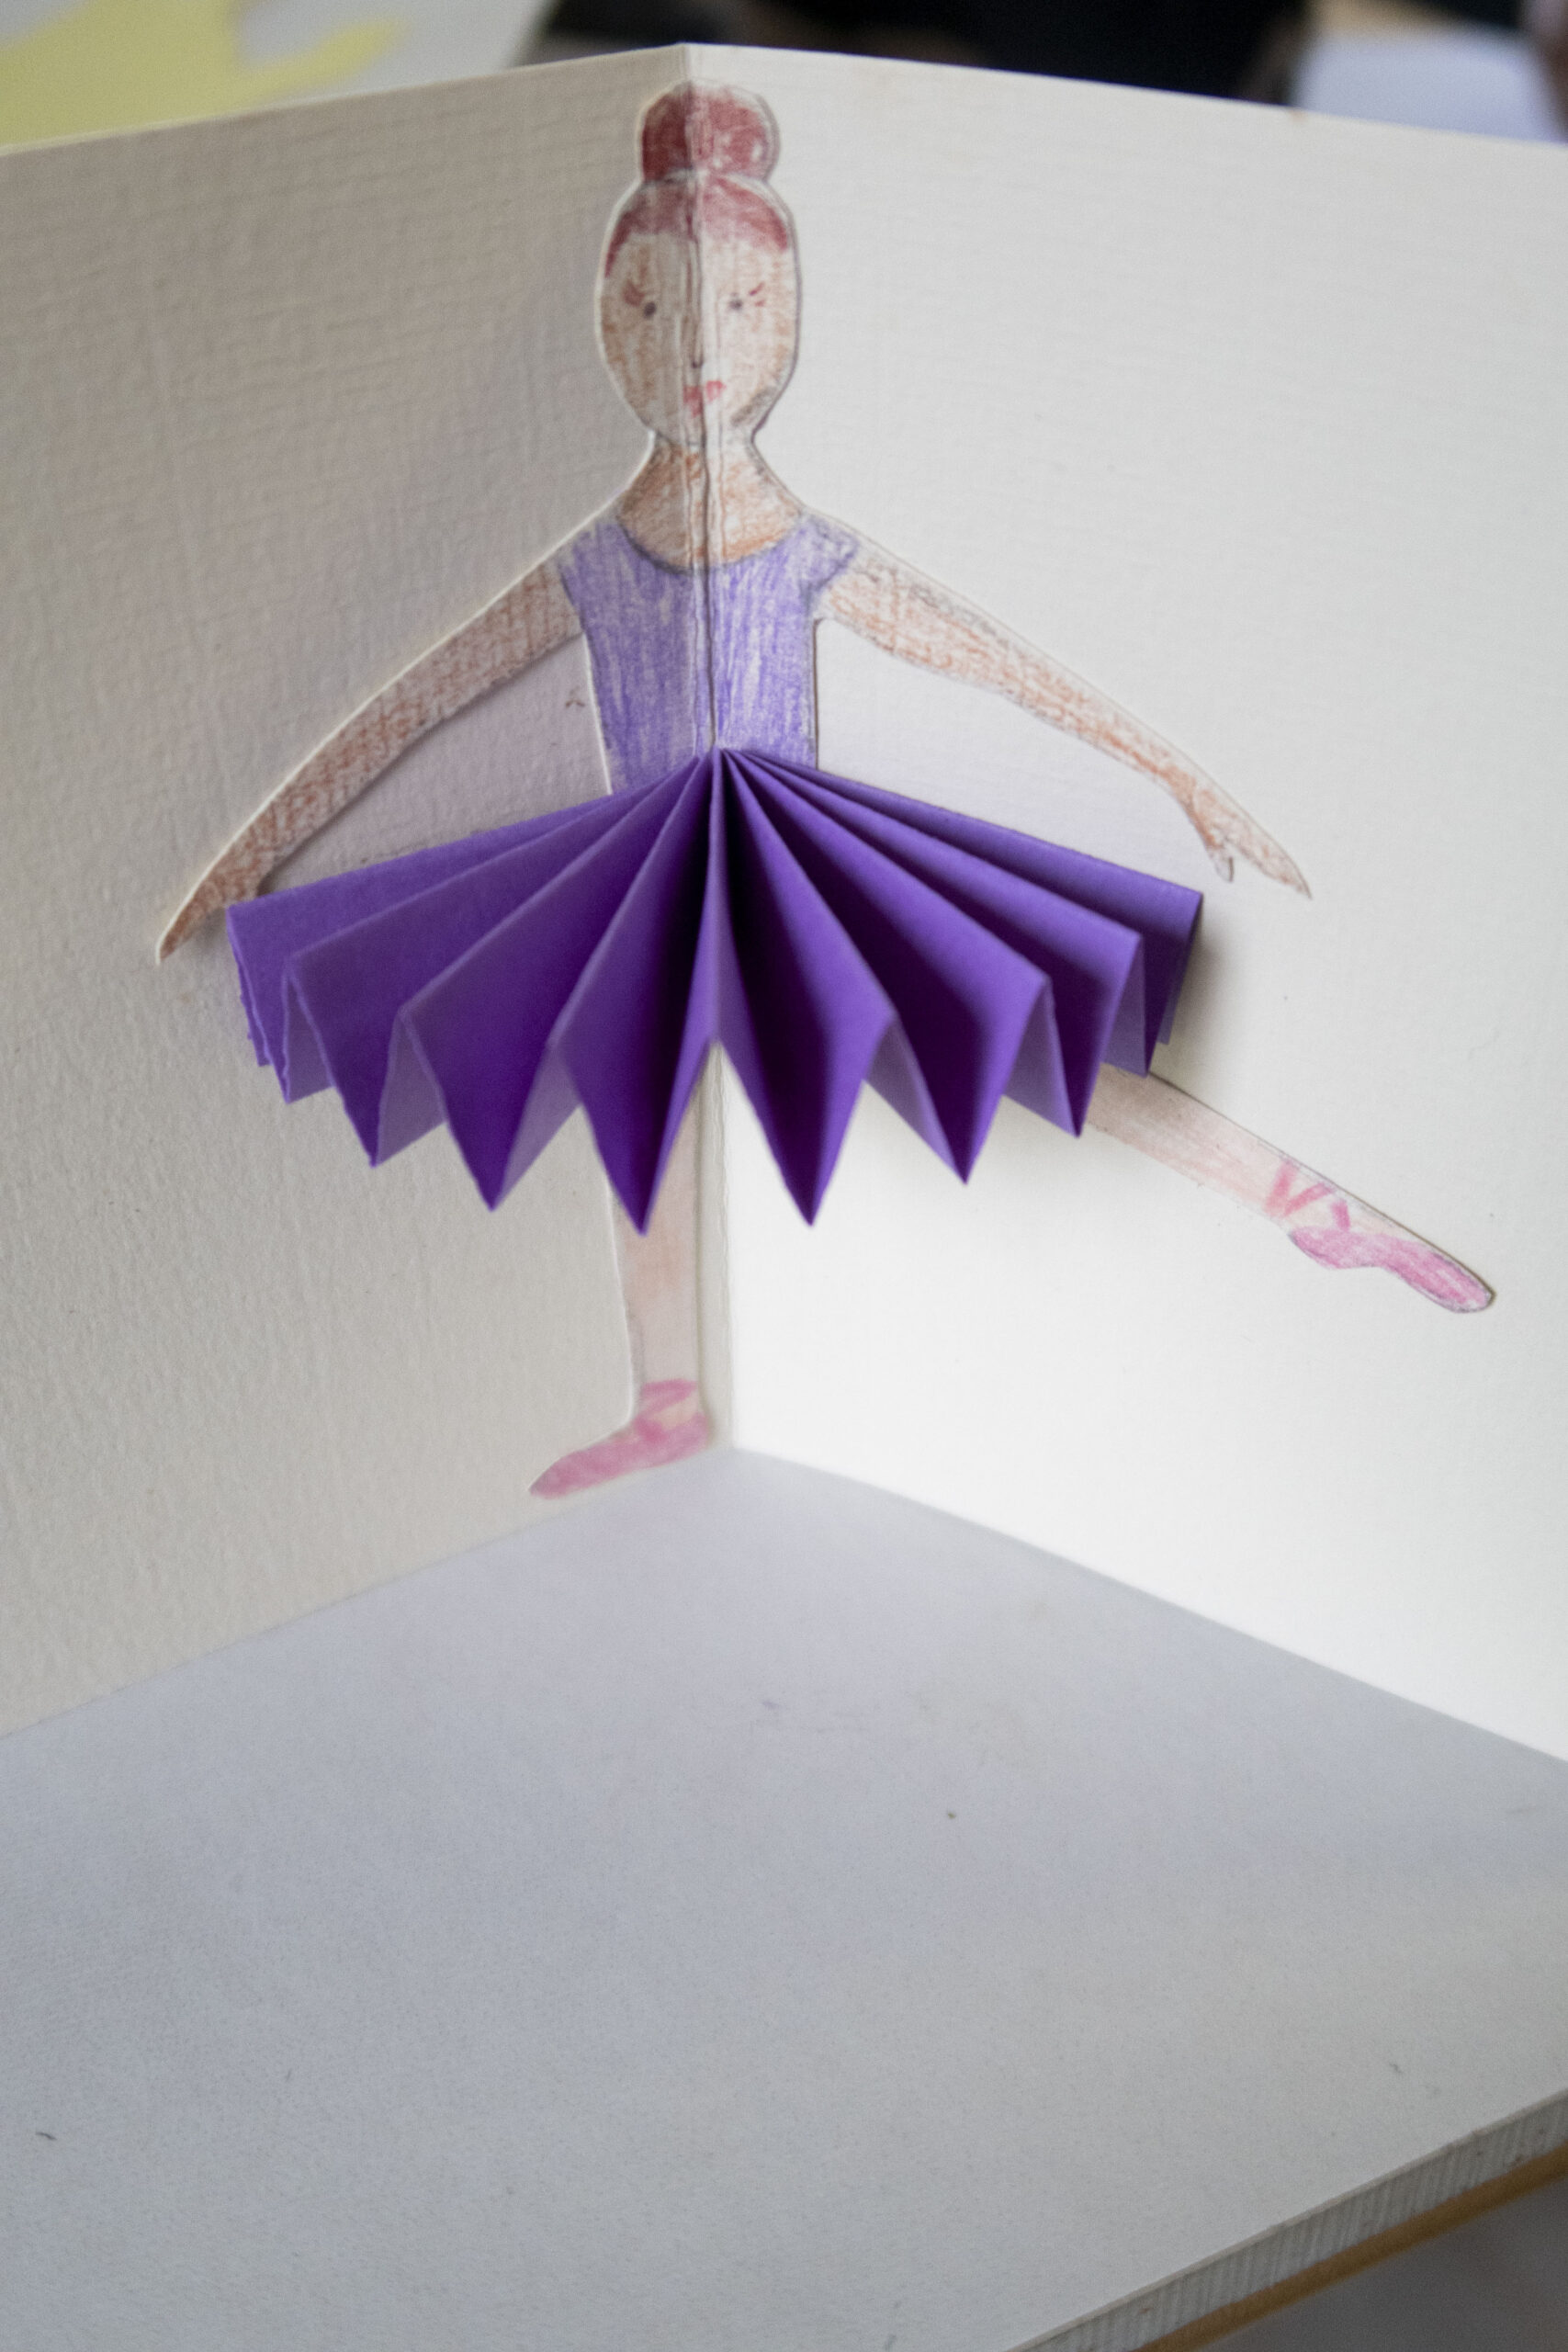
For the ballerina card shown in these images, the tutu is a simple rectangle of paper with an accordion fold. With either end glued to either side of the folded card, it flares out as the card is opened.
The flower card shown follows the same principle. Flowers are made by folding a square of paper in half, in half again and then corner to corner to make a triangle.
Cut a petal shape off at the open corner tip of the triangle. Open the flower, color it if you choose, then cut one segment (along the folds) out, overlap the two segments on either side of the cut and glue together. This creates a non-flat flower.
Repeat to make seven flowers. They can match in color and shape, can be a combination of different flowers or each be unique.
Fold all the flowers in half — this will show three segments on either side. Add a dot of glue to the edges of the outer two segments of one folded flower, and attach another flower on either side, aligning an edge segment of each, both going in the same direction perpendicular to the first, forming a square without the bottom.

Glue — securing only the edges — another flower in line with the first one. Glue two more over the second and third flower. Glue the last in line with the first and fourth flower. Place the folded group of flowers inside a folded card and glue the edged of the center petals on either end to the card.
Many shapes, figures or motifs can be secured inside a card to pop out when the card is opened.
Another method of making pop-up cards is to create a bridge inside the card and secure your elements to the bridge.
Make a bridge by cutting a rectangle from a separate piece of paper, folding it in half and folding the ends. Glue the ends to the inside of the card (fold them under for a cleaner looking card), such that the bridge can fold flat when the card is closed, but opens into a square when the card is opened.
Cut out and decorate any shape for any themed card, and glue it onto the bridge.
Alternatively, make the bridge out of the card itself by cutting two parallel lines from the fold and perpendicular to the fold when the card is closed. Adjust the cut section to fold inside the card.
As this leaves a gap in the card when it is closed, cover the outside with another piece of paper. Be creative with the color — different colors inside and outside of the card can make it even more fun and surprising.
The theme you pick can match the occasion or just be fun to make and open. Hearts, animals (birds and hedgehogs are always cute), houses, flowers in pots, flowers growing, flowers in a bouquet, trees, hot air balloons or a party scene (gift box and balloons) are some pop-up card ideas to get your creative inspiration started.
Decorate the front of the card(s), write a message inside and gift it to someone to show you care and are thinking of them. Mailing a homemade card to a loved one far away can spread your handcrafted care around the world.
TWEET @DominionPostWV

