Perfect beginner sewing project that is practical and cute
By ALDONA BIRD
Newsroom @DominionPostWV
It’s harvest season, and for home gardeners it can mean a time of juggling zucchinis, handfuls of beans and other ripened crops from the garden to the kitchen.
Grabbing a basket or bowl on the way to check on the garden is a great but often hard-to-form habit.
Setting the basket down and then getting distracted weeding, watering or doing other maintenance can also be inconvenient. But a harvest apron can be a quick fix to keep a place for ripe veggies close at hand, and is easy to store by the door to grab on your way to the garden.
It’s also an easy DIY project if you’re handy with a sewing machine or needle and thread — and if you’re not, it’s a great project to practice on. Use making a harvest apron an excuse to shop for more fabric, or upcycle old clothes or bits of fabric you already have.
Heavier weight fabrics work well, or doubled up lighter weight fabrics. Non-stretch is ideal, and consider upcycling jeans, canvas or two layers of quilting cotton. Patch work of smaller pieces can look cute and use up scraps.
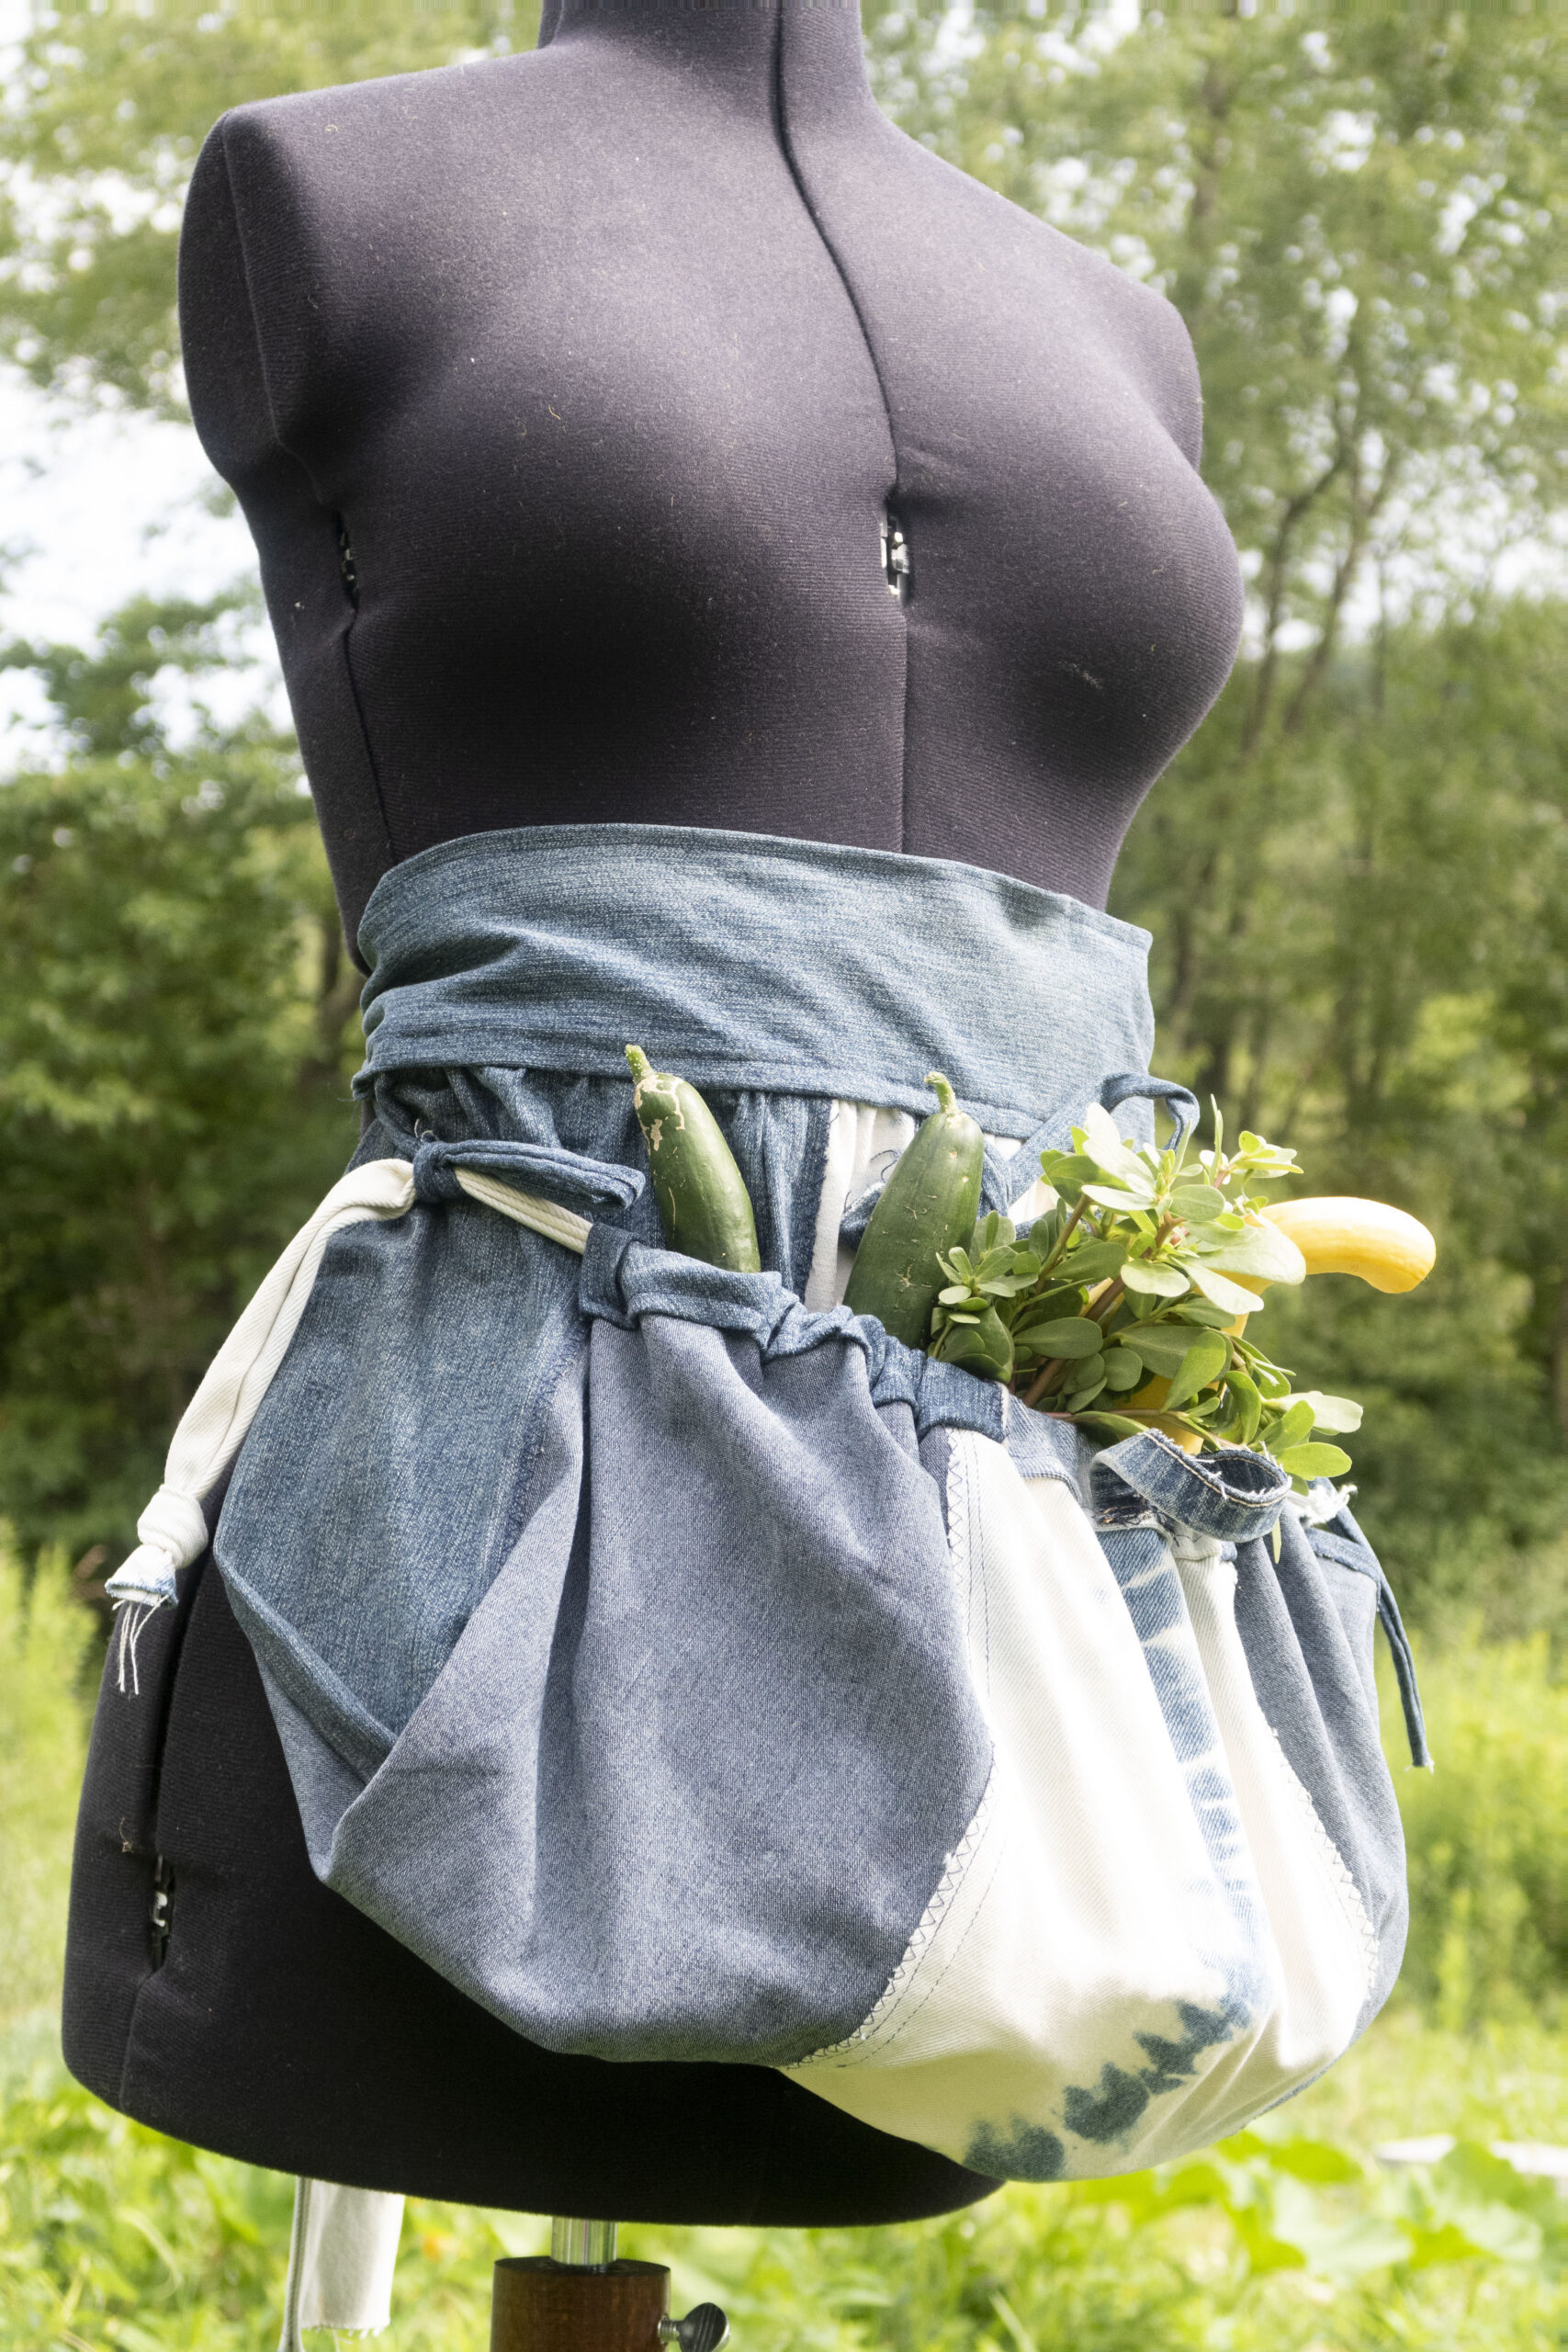
These directions are for a half apron, which can be worn as a regular apron (great for protecting your clothes while working in garden or kitchen) or tied up into a wearable basket.
If you want more than one apron, or to try a different style, make a full or half apron, with extra large pockets to fill with produce or garden tools.
Supplies
- Fabric: a piece roughly 26 inches by 26 inches (can be pieced together out of smaller sections), a piece 6 to 8 inches by 86 inches (length variable based on how long you want the tie to be, width should be twice as wide as you want the waistband), fabric or strong ribbon about 26 inches long, a tie piece about 6 inches long, one 16 inches long and two 10 inches long.
- Thread
- Sewing machine or needle
- Scissors
If your fabric frays easily, zig-zag along all the edges. Hem two opposite sides of the 26×26 inch piece of fabric.
Fold the six-eight by 86 inch piece in half, so you have a three to four inch by 86 inch piece, right sides together — this is your waistband. Sew along the edge of the length, leaving an 18 inch section in the center of the piece open — this is where you will attach the skirt of the apron.
Turn the waistband right side out. Gather the top of the 26 inch piece, to fit in the 18 inch opening. Gather by sewing a long basting stitch at the top, then pulling one thread to create gathers, or pin the fabric in gathers, and secure them as you sew the skirt piece to the waistband.
Fold the 16 inch ribbon in half and pin to the center of the right side of the apron, so it will be sandwiched between the right sides of the apron and the waistband.
Sew right side of the skirt piece to the right side of one edge of the waistband, making the seam hidden on the inside. Be sure to secure the ribbon or fabric tie as you go.
Pin the other side of the waistband down, edge tucked inside, and top stitch to close the opening. Top stitching along the bottom and top of the waistband piece will make it look more professional and finished.
Round the corners of the bottom of the apron (26 inch piece). Fold the edge up, and sew, creating a one inch channel spanning the bottom, and continuing up the curved corner on either side. Thread your 26 inch piece of ribbon through the channel. Tie knots at the ends of the ribbons, so they cannot pull out in either direction.
Fold the six inch ribbon in half to form a loop, and secure it to the bottom center of the apron, so you can fold the apron up, and tie the ribbons at the center of the waistband through the loop.
Secure each of the 10 inch pieces of ribbon to the waistband, at the edges of the apron section.
To utilize, tie the apron around your waist, then pull the ribbon on the bottom edge to gather, and tie in bows with the ribbons on either side. If your harvest is particularly heavy, tie the center ribbon through the center loop for more support. Depending on your harvest size, you can also gather the bottom along the ribbon, and tie each side to the center ribbons.
With this handmade apron, gone will be the days of stretching out your shirt to make a place to carry fresh picked vegetables.
Tweet @DominionPostWV
