This weekend marks the summer solstice. Folklore and myths suggest on the shortest night of the year the veil between reality and the spirit world is thinnest, and harvesting certain herbs at this time will ward off evil.
Whether based on superstition, or perhaps blooming times, knowledge of potency peaks, or simply keeping a rhythm of annual work, the summer solstice is a traditional time to harvest herbs and preserve for use throughout the year.
Even if you don’t find fun in following centuries-old traditions, spending time harvesting herbs to make your own teas, salves, culinary blends or for use on their own can be a great summer’s day activity.
It’s easy to find sources recommending harvesting herbs in the morning, after the dew dries but before the hot sun diminishes the strength of the essential oils. While not a bad idea, don’t stress about it, and harvest as your schedule allows.
Some good rules to follow are:
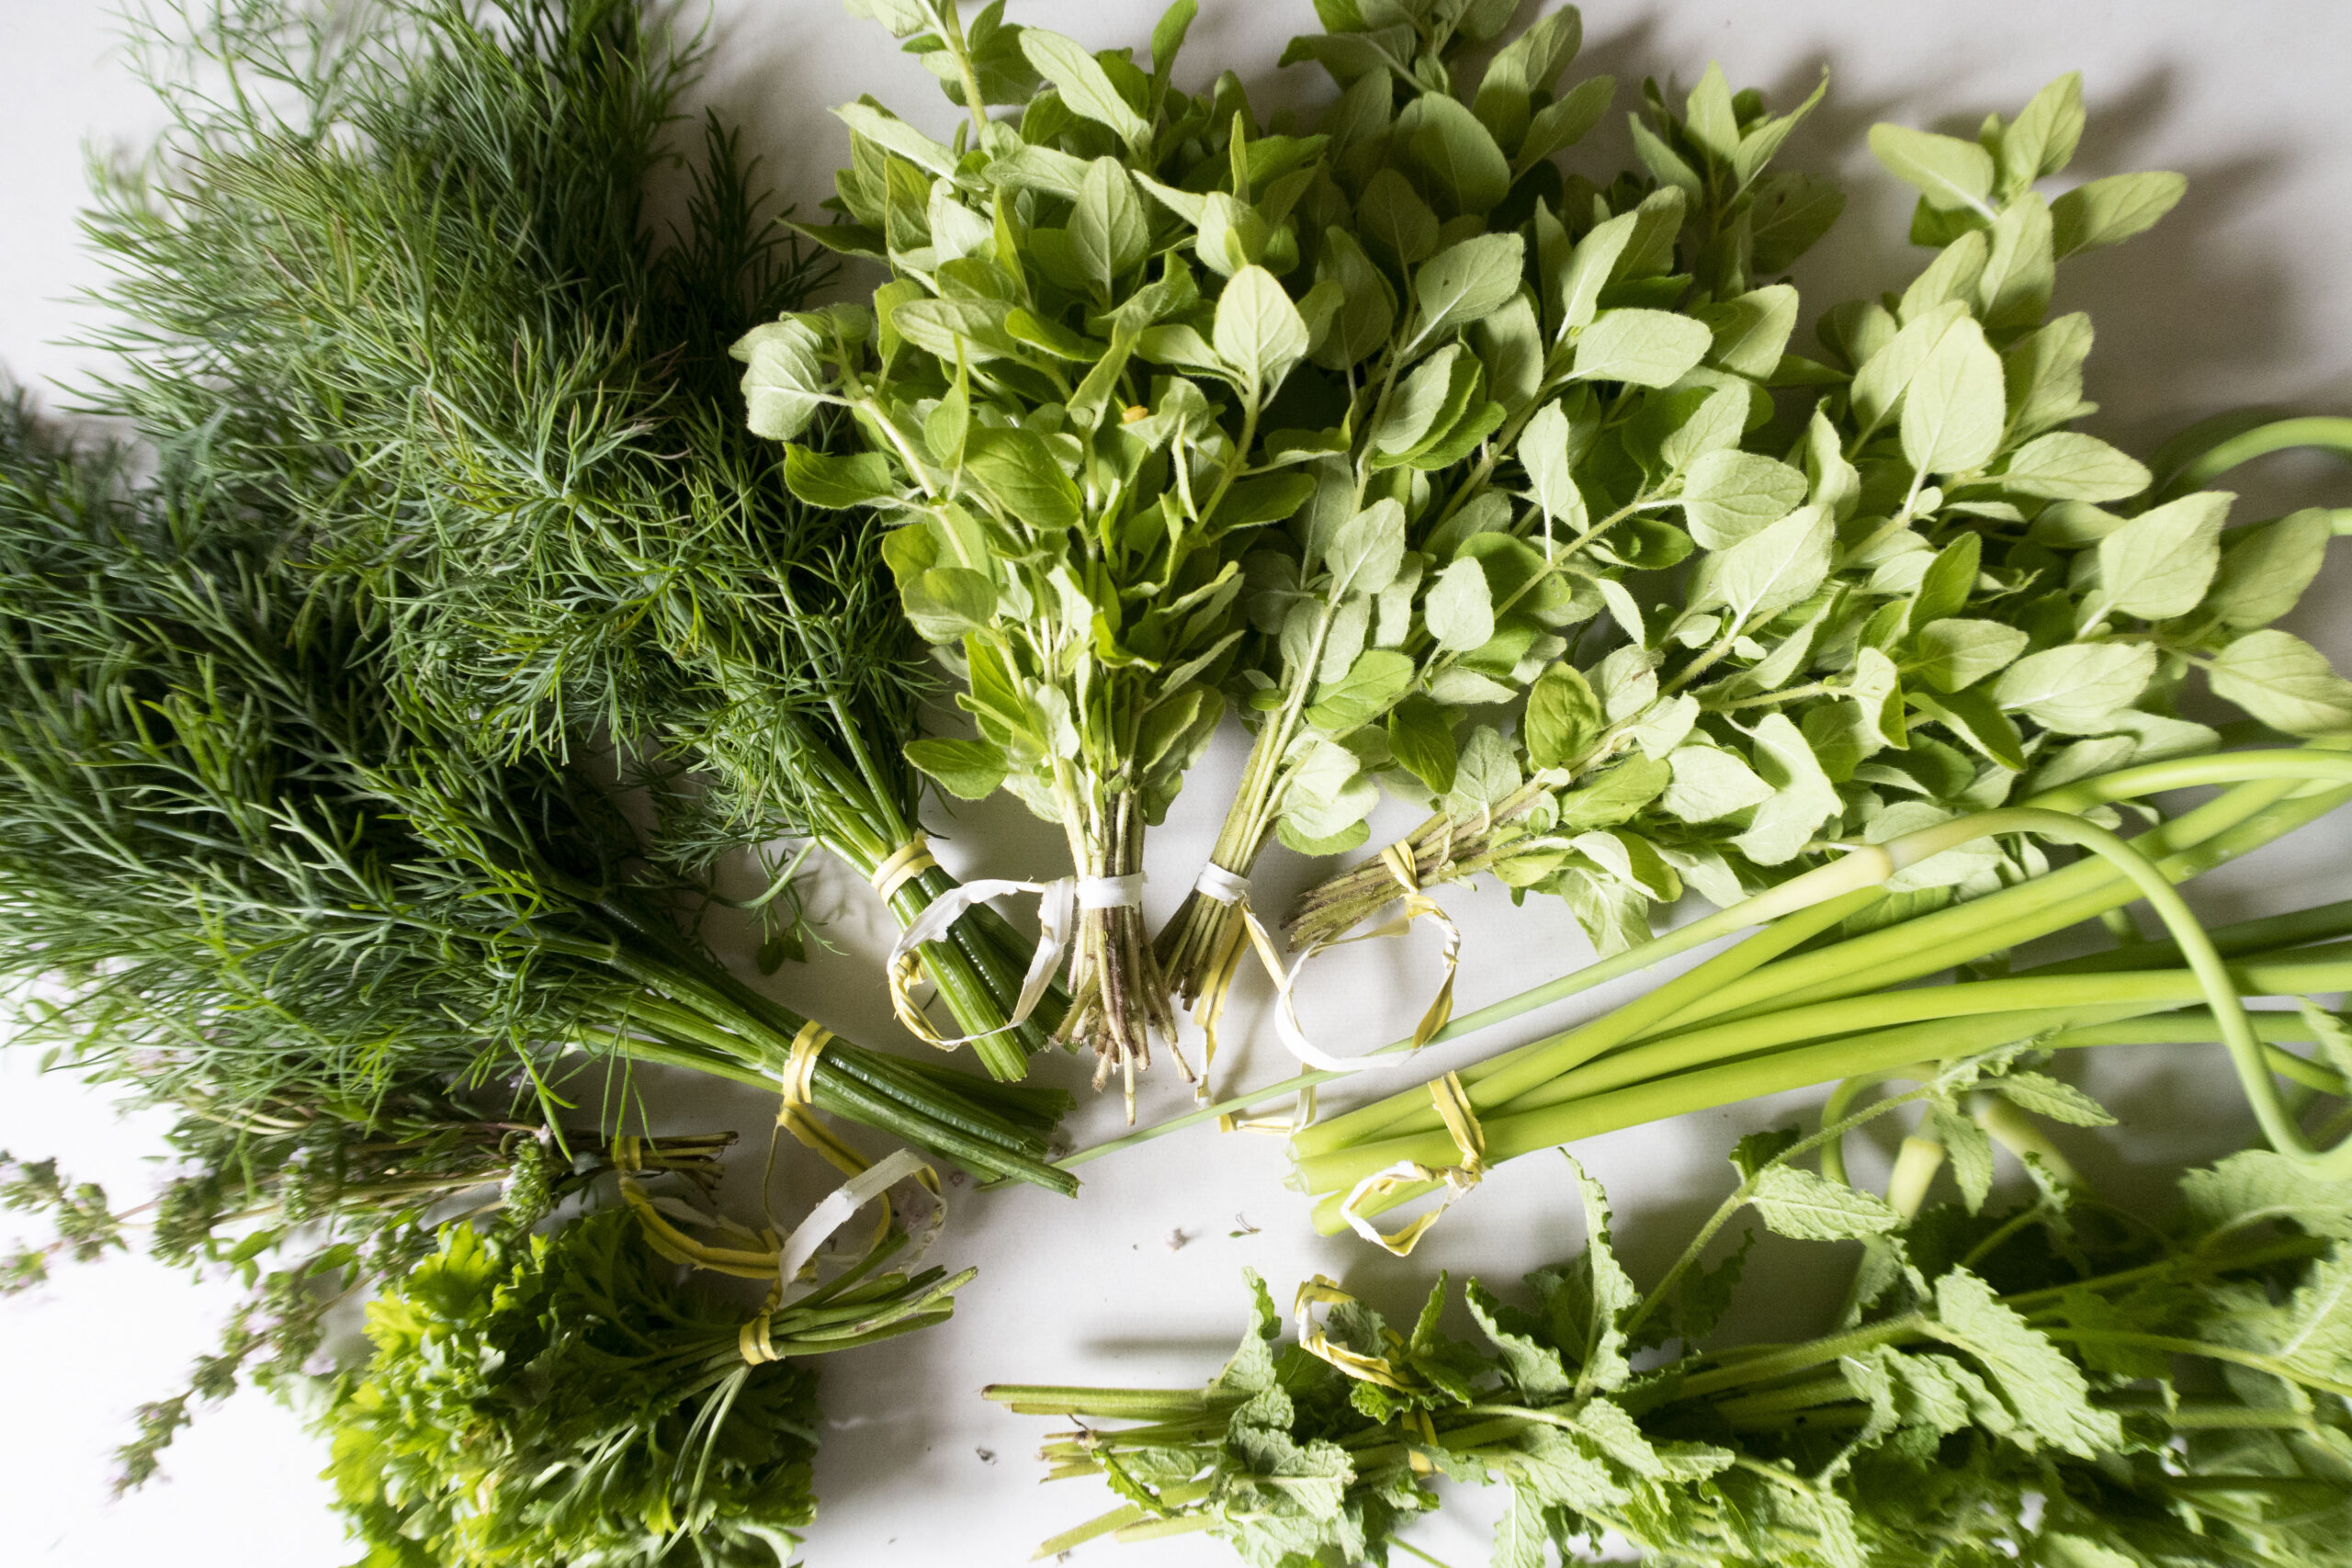
-Don’t harvest more than one third of a plant at a time.
-If the plant is a perennial and in it’s first year, don’t harvest much at all.
-Cut stems off right above new emerging leaves (to encourage more growth).
-Cut flowers off before they seed to prolong harvesting time.
Once you’ve collected your medicinal or culinary herbs, chose a method (or several) of preservation. Drying is easy and simple; freezing can capture fresh
flavors of some herbs; fermenting can modify and enhance flavors while adding beneficial bacteria to your diet; infusions can be used for making extract substitutes or medicinal salves and ointments.
To hang dry herbs:
Remove dead, wilted or diseased leaves
Tie stems (twist ties make it easy to tighten if needed as stems dry and shrink)
Hang upside down, preferably loosely covered (a small paper bag with holes around the bundle, a muslin or other light material work well)
Choose a spot with low humidity, and leave until fully dried.
Drying herbs in the dark helps them retain their color. But you can also use the sun’s power to quickly dry them by creating your own solar dehydrator. Simply
take an old window screen, cover it in a clean very lightweight cloth (an old cotton bed sheet, or muslin fabric), place herbs on top and leave it in the sun or on a car dashboard until herbs are dry and crisp — just don’t leave them long enough to bleach out. Alternatively, cover them with a light sheeting fabric for a longer drying time to prevent bleaching out.

Solar drying is a good option for leaves and smaller pieces of herbs which don’t tie as easily.
Dried herbs can be used to make teas, in cooking or combined into culinary mixes. Try this recipe to add to a variety of savory dishes:
Greek Seasoning Blend
1 tablespoon dried basil
1 tablespoon dried oregano
1 tablespoon garlic powder
1.5 teaspoon dried parsley
1.5 teaspoon dried rosemary
1.5 teaspoon dried thyme
1.5 teaspoon salt
1.5 teaspoon black pepper
half a teaspoon nutmeg
Grind herbs in a clean spice or coffee grinder, and mix with other ingredients. Enjoy!
Try to copy your favorite seasoning mixes with homegrown herbs, or mix and match to create your own perfect blend.
Freezing can help herbs keep their bright fresh flavors. Chop herbs such as basil, or a mix of thyme, rosemary and oregano, and mix with oil.
Freeze in an ice cube tray and store in a wide mouth jar. Pop a herb oil cube into pasta or other dishes near the end of cooking to thaw and release the lovely
taste and aromas.
Herbs can also be frozen in very small bundles or as single leaves.
To ferment herbs, mince finely with salt (roughly one teaspoon salt to six cups herbs — putting through a food processor is fine — and pack tightly into a jar layered with salt. The mincing and tight packing will squeeze out some juice — brine. Keep with a loose lid (to release gases created through fermentation) and away from heat. Make sure that the paste stays submerged under the brine. Taste after about 5 days. When the flavor is somewhat acidic and pleasant, tighten the lid and place in refrigerator to stop further fermentation, and use as desired.
To infuse fresh herbs into oil:
Pack jar with fresh herbs, leaving a few inches of space at the top.
Cover with oil (no herbs should be above the oil, and if any float to the top during the process, and start to mold, skim them off); olive oil works well for culinary and medicinal uses alike, while coconut and other are great for making salves and other body care products.
Put a tight lid on the jar, shake and set in a sunny windowsill
Shake once or more per day, for two or three weeks
Strain into a clean jar, squeezing out as much oil from the herbs as you can.
Label and date the oil, and use as desired.
To infuse oil faster, place herbs and oil in a double boiler, and warm on a low heat until the oil smells like the herb and changes color (usually one to five hours).
Try different combinations of herbs, or make single herb infusions. Drizzle the final product on pasta or pizza, or dip your homemade bread into it for a snack or appetizer. You can use infused olive oil to flavor all kinds of cooking.
Have fun using and preserving herbs (maybe not so much fun as Oberon and Puck), and try different methods to learn and expand your options for using and enjoying summer flavors throughout the year.
By Aldona Bird
Tweet @DominionPostWV
