While holiday cards aren’t as popular a tradition as they used to be, many of us still get at least a few each year. Those who are sentimental may keep them from year to year.
Instead of putting cards away in a box, you can upcycle them to make a box or a basket. By doing this project you can look at and enjoy the art on the cards daily.
To make a simple box, with a lid you will need:
- greeting cards, 10 to 12
- scissors
- pencil
- glue
- large embroidery needle
- embroidery thread
For each side of the box you will need two cards — one for the inside and one for the outside.
When selecting cards you can pick them randomly, or by theme or style.
To make a box, cut the front of the cards into squares of the same size. To determine the size of box you’ll make, measure the shortest side of the smallest card you want to use. Cut the front of that card into a square, and use it as a templet to cut the front of the other cards into the same size.
If you want to make a square box with a lid you will need 12 cards (two for each side). You can substitute card stock or the back of a card — even use the inside of a card with a message from a loved one, for the bottom.
Arrange the squares to determine the layout for the inside and outside of the box. Once you know which you want inside and which outside, glue corresponding squares together, with the fancy sides facing out. Don’t glue the edges — leave about half an inch around on all sides.
Next, poke holes around the edges to stitch through. Use a large embroidery needle or a stylus to make these holes. They should be roughly a third of an inch in from the edge, and a third of an inch apart.
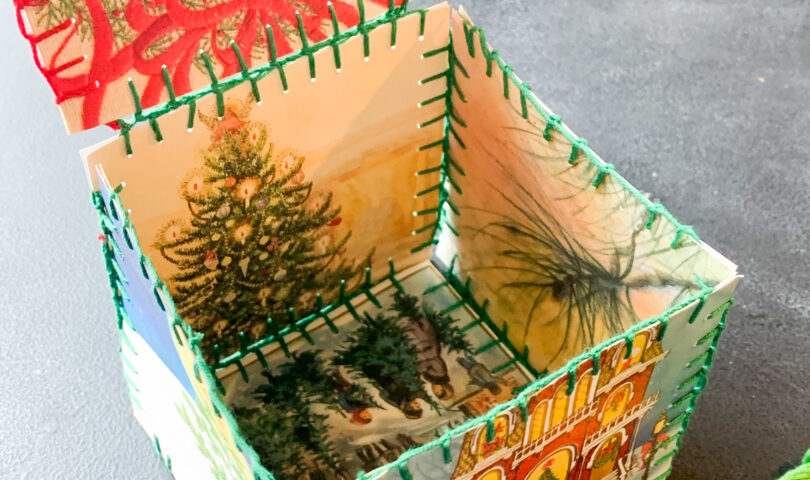
Using a full embroidery thread (don’t separate the strands), stitch a blanket stitch all the way around each piece. Pick a color that complements the cards you’ve chosen.
To make a blanket stitch start by going through the same starting hole twice. Then proceed to the next hole, but before pulling the thread tight, slip your needle through. This should make it such that each stitch catches the last, and the thread sits along the edge of the cards as well as looping down into each hole you made before stitching.
Once you’ve edged each double-sided square, separate out a strand of the same color thread. Use it to stitch the squares together, looping through the thread of the blanket stitches. Start by assembling all the side pieces to the bottom, and then stitch up the sides. Add the lid. You can add a button and loop to hold the lid closed.
Using this method, you can also make a box without a lid, or a basket. To make a basket, the bottom should be a hexagon. The bottom of each of six side sections should match the size of the hexagon. The top of the side pieces should be slightly wider and can be rounded for a scalloped basket.
Card boxes make cute home décor and can be useful as well. This is a fun craft to use cards sent in the mail or given with gifts.
